If you have decided that a laminate floor is not for you, or maybe you have just decided that a different one will be better, you might be looking into how to remove your current floor. Rest assured that is as simple to remove as it was to install.

With the right tools, and a little free time, you can have this floor up in no time.
Before you start, you should be sure that you have the right tools.
Tools For A Floating Floor:
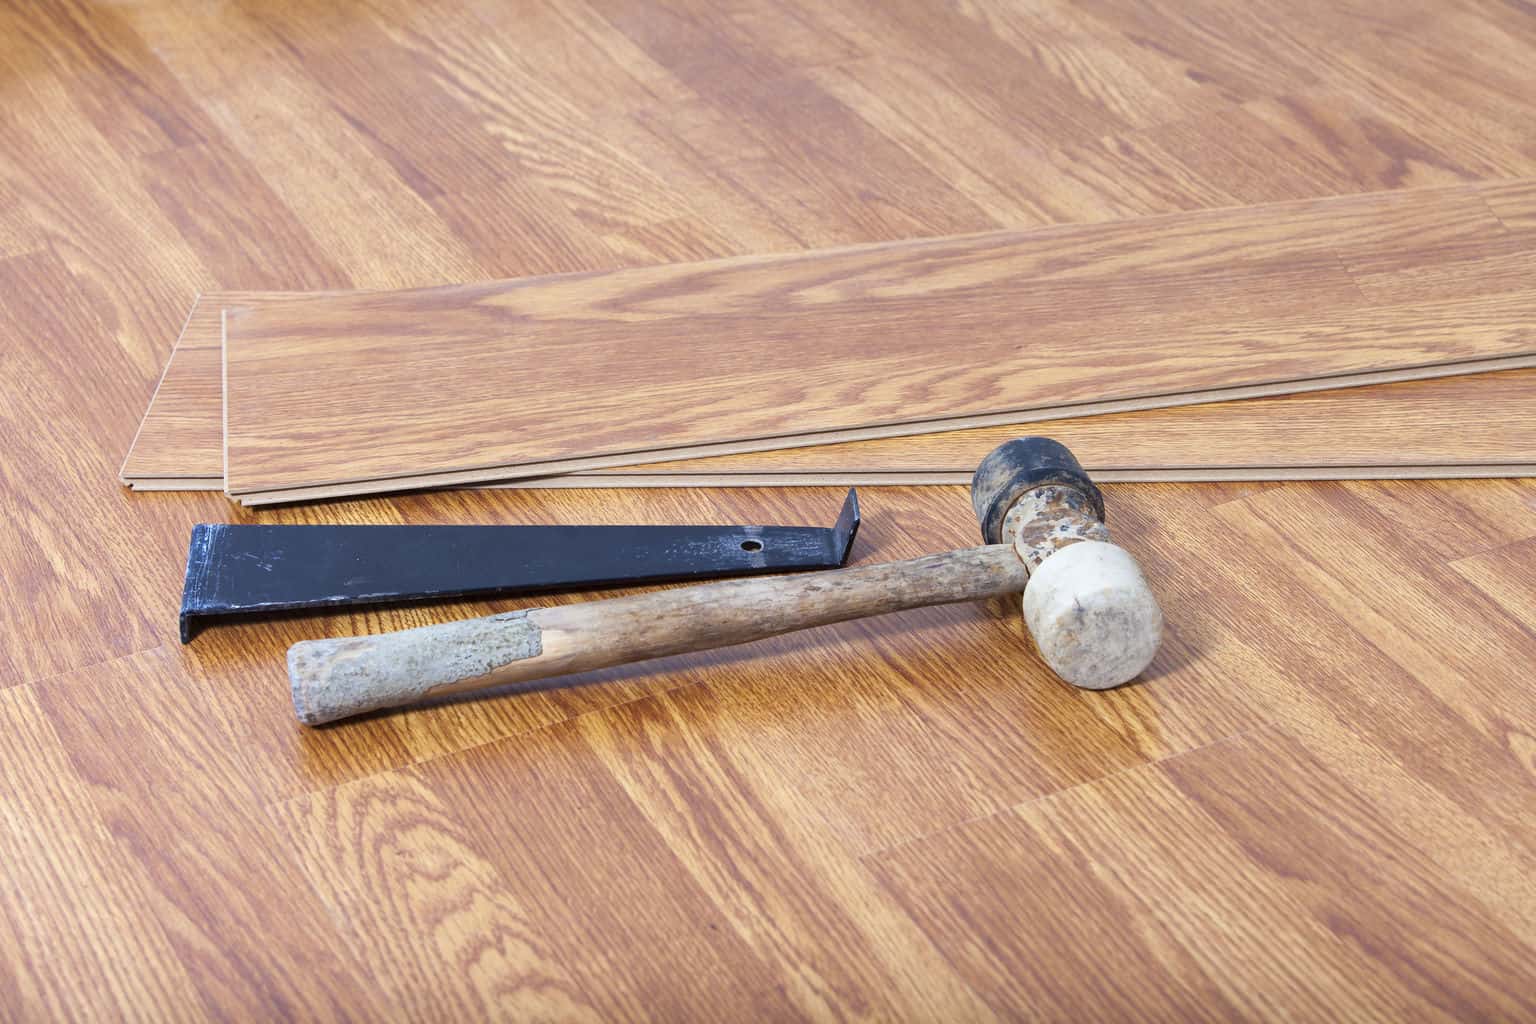
- A Pry Bar
- Standard Pliers
Tools For A Glued Floor
- A Pry Bar
- Pliers
- Floor Scraper
- Orbital Sander
- Optional Heat Gun
- Glue Remover
Before You Start
Before you begin the task of removing your laminate floor, you should complete a few things.

- Make sure you are patient. This may not be challenging, but it requires that you are patient through the process.
- Remove any furniture from the room.
- If you are intending to use the baseboard trim again with the new floor, be sure to indicate on the pieces where they are to be reinstalled in the room.
- If you are merely removing the floor to get to a piece that is damaged, make sure that you organize the pieces that you so that you know what order they need to be in when you re-install them.
- If you aren’t going to reuse the trim or the flooring, don’t stress about trying to be careful. Rip them out without abandon, if you want.
- You need to remove the underlayment that you will likely find beneath the floor.
Removing The Floor
As I said above, this process is very simple and straightforward. In case you have a floor that is glued, I will quickly give you the steps for removing your flooring as well.

Glued Floor
- Mop:Using hot water, you should mop your floor. When finished, leave the floor slightly damp as it will allow that water to seep into the wood, causing the adhesive beneath to begin to soften.
- Heat: Your heat gun will apply heat to the adhesive, causing it to loosen. Be careful not to burn yourself on the heat gun. You should begin at an edge of a piece and complete one piece at a time.
- Pry: Once a piece is adequately heated, you can use your pry bar (the short end) to lift the edge. It is best if you continue to apply heat as you lift the piece. This process will cause the glue to melt and you should see the piece come loose from the floor. You should continue this process along the whole floor.
- Remove Asbestos: Before beginning your final step, you should open enough windows in the room to get enough air. You should wear gloves, goggles, and a mask when completing this. When you apply your glue remover to the leftover adhesive, be ready with a putty knife to begin scraping the leftover adhesive off the floor. Once this is done you should mop the whole floor with water that is clear.

Floating Floor
- Transition Pieces: Take the time to remove your transition pieces, by using a pry bar to get underneath it and then working to lift it up, while continuing to work the underside of the piece with the pry bar.
- Remove U-Tracks: The transition pieces all snap into u-tracks which you should not remove.
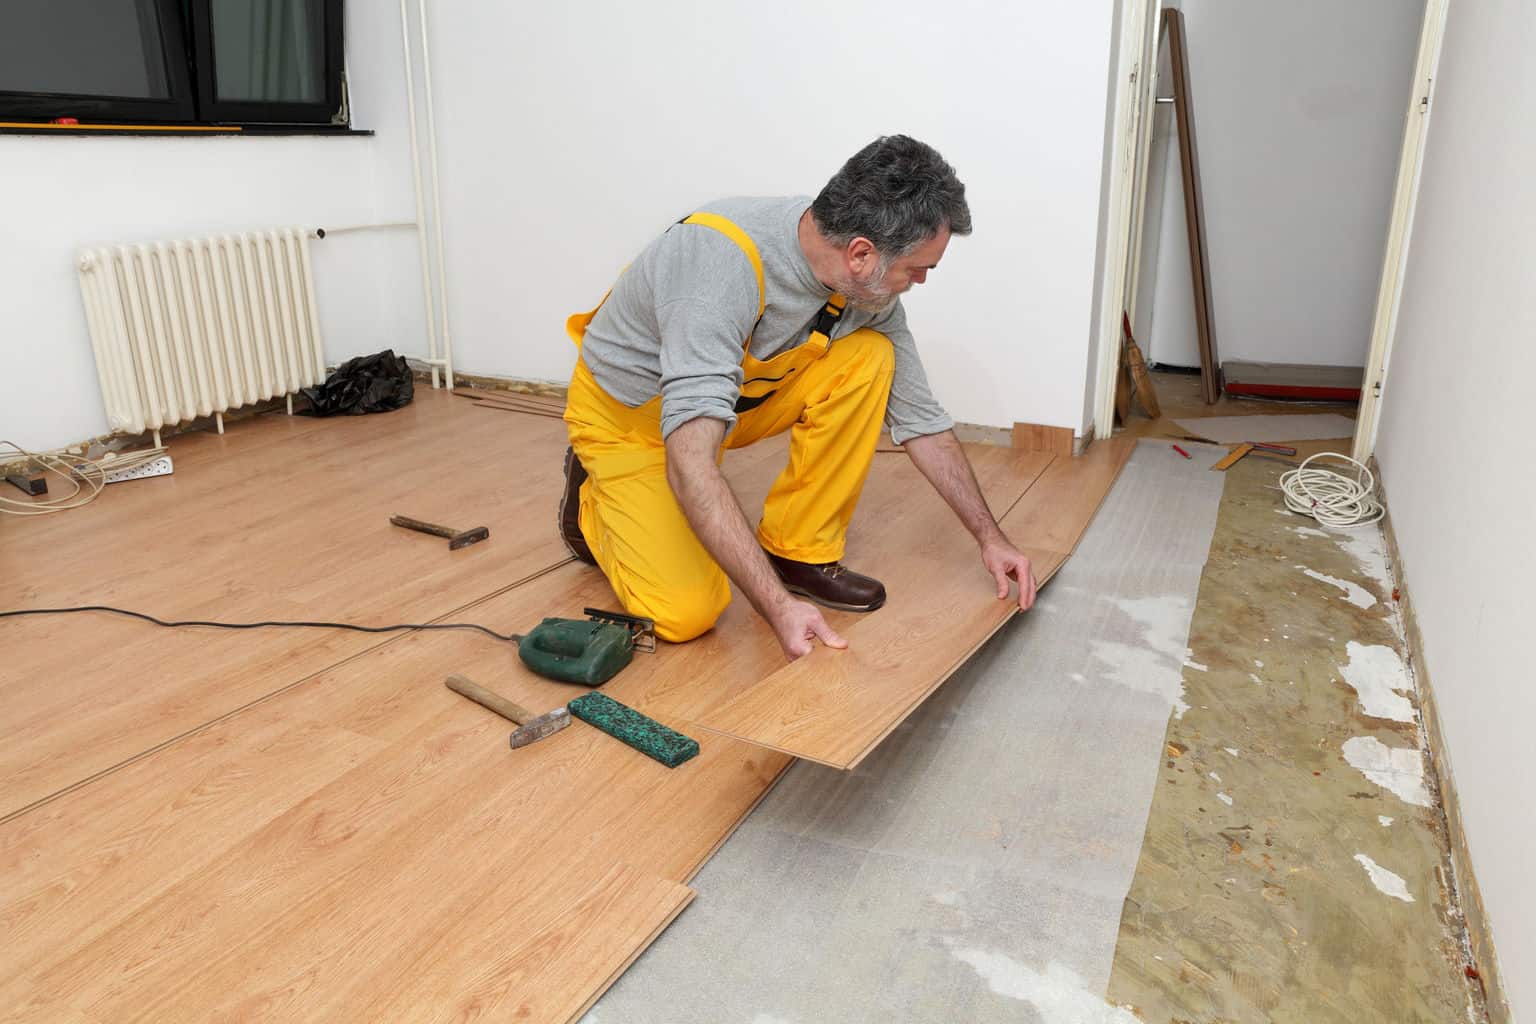
- Removing Floor: As you start to remove the flooring, you should start along a wall where the material is running parallel to it.
- Using The Gap: There is always a small gap along the edge. You should use this gap to get your tool underneath a board.
- Lift And Pull: Once your pry bar is underneath your first piece, you can lift it to about 30 or 45 degrees. As you do this you should work to pull it form the second piece.
- Continue: Step five should continue until you have successful removed your first row. Once this is complete, you can then move onto the remaining rows.
- Break The Glued Boards: Sometimes people glue planks together. If this is the case for your floor, you should raise roughly a foot or more of the flooring and pull it toward yourself. This will allow it to break apart.
- Remove Adhesive: Take the time to remove the adhesive by either using an orbital sander, a floor scraper, or a heat gun.

It’s as simple as that! I hope this all makes sense for you and that you are able to adequately remove your laminate flooring. Oftentimes house projects can be challenging and take up a lot of time, but I think you’ll find that removing laminate flooring is a project that won’t waste your time.
