
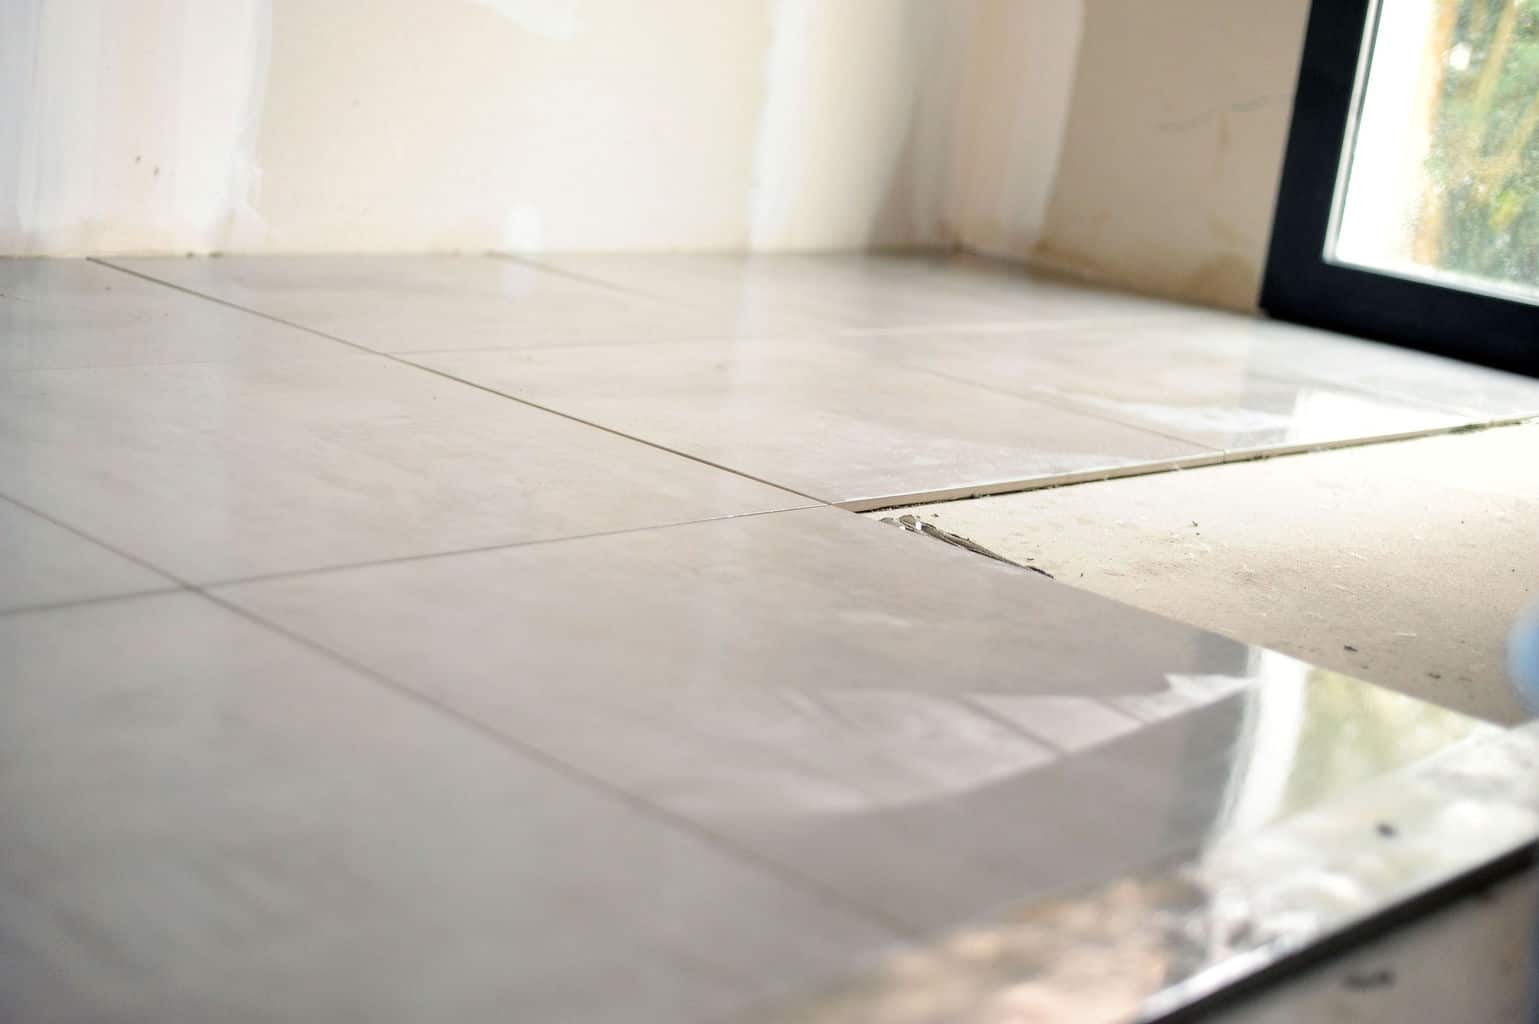
Ceramic tile flooring is considered to be one of the most cost-effective and low maintenance flooring materials available.
It is very visually appealing and offers a lot of variety in terms of color and texture, making it easy for you to create a personalized style in your own home.
Aside from that, it is very durable and can withstand wear and tear in high traffic areas.
It may not be the easiest to install, but it’s not that hard either. With the proper tools, laying a tile floor is a manageable do-it-yourself project if you want to save costs. And the result is hard-wearing and attractive flooring.
In this article, I’m going to show you how to install ceramic tiles on a concrete floor substrate.
What Do You Need To Lay Ceramic Tiles?
Before you proceed, you have to pick out the tile design that you will be laying.
Materials Needed:
- TSP (Trisodium Phosphate)
- Concrete Patch or Self-leveling Compound
- Concrete Sealer
- Tile
- Mortar
- Grout
Tools Needed:
- Tile Cutter
- Tile Spacer
- Trowel
- Grout Float
- Grout Sponge
- Tape Measure
Step-By-Step Instructions
Step 1 - Preparing the Concrete
Here’s the deal.
It doesn’t matter how high quality or expensive your ceramic tiles are. If the concrete subfloor is not prepared properly, problems like ceramic tile cracks can occur.
First, you need to prepare the TSP solution according to the package instructions. It is very effective in removing dirt, oil and grease on concrete surfaces.
Pour adequate amounts of the solution on the floor, then scrub using a brush and let it dry. Carefully examine the concrete surface for any cracks and small holes. Also make sure that it is smooth and level.
If you discovered any defects on the floor, fill them with a concrete patch or self-leveling compound to achieve a flat surface that’s ready to receive ceramic tiles.
If you’re going to install tiles in wet areas such as bathrooms and balconies, you need to apply a waterproofing membrane or paint first. This will protect any possible leaks on the wall and flooring.
Step 2 - Seal the Concrete
The next step is to apply a concrete sealer on the floor surface. This is an optional step, but can really benefit your tile installation in the long run. A concrete sealer prevents moisture from staying underneath the ceramic tiles. It will also provide a stronger adhesion between mortar and concrete.
Step 3 - Plan Your Layout
Okay, so you’ve prepared the concrete subfloor before installing the ceramic tiles.
Now what?
Now, it’s time to decide the starting point for laying the tile. After that, you will also have to think about how it will look like at the end.
If the end piece appears too small or narrow, you will have to adjust the start point from the edge of the tile to the center of the tile, for example.
Use a chalk line to mark your starting point on the concrete floor. Then use a square tool to check that the lines are perpendicular to one another.
Now that you have a reference point, you can be sure that the first row of tiles will be properly aligned.
Test how it will look like by laying the tile without adhesive. Use spacers for accuracy.
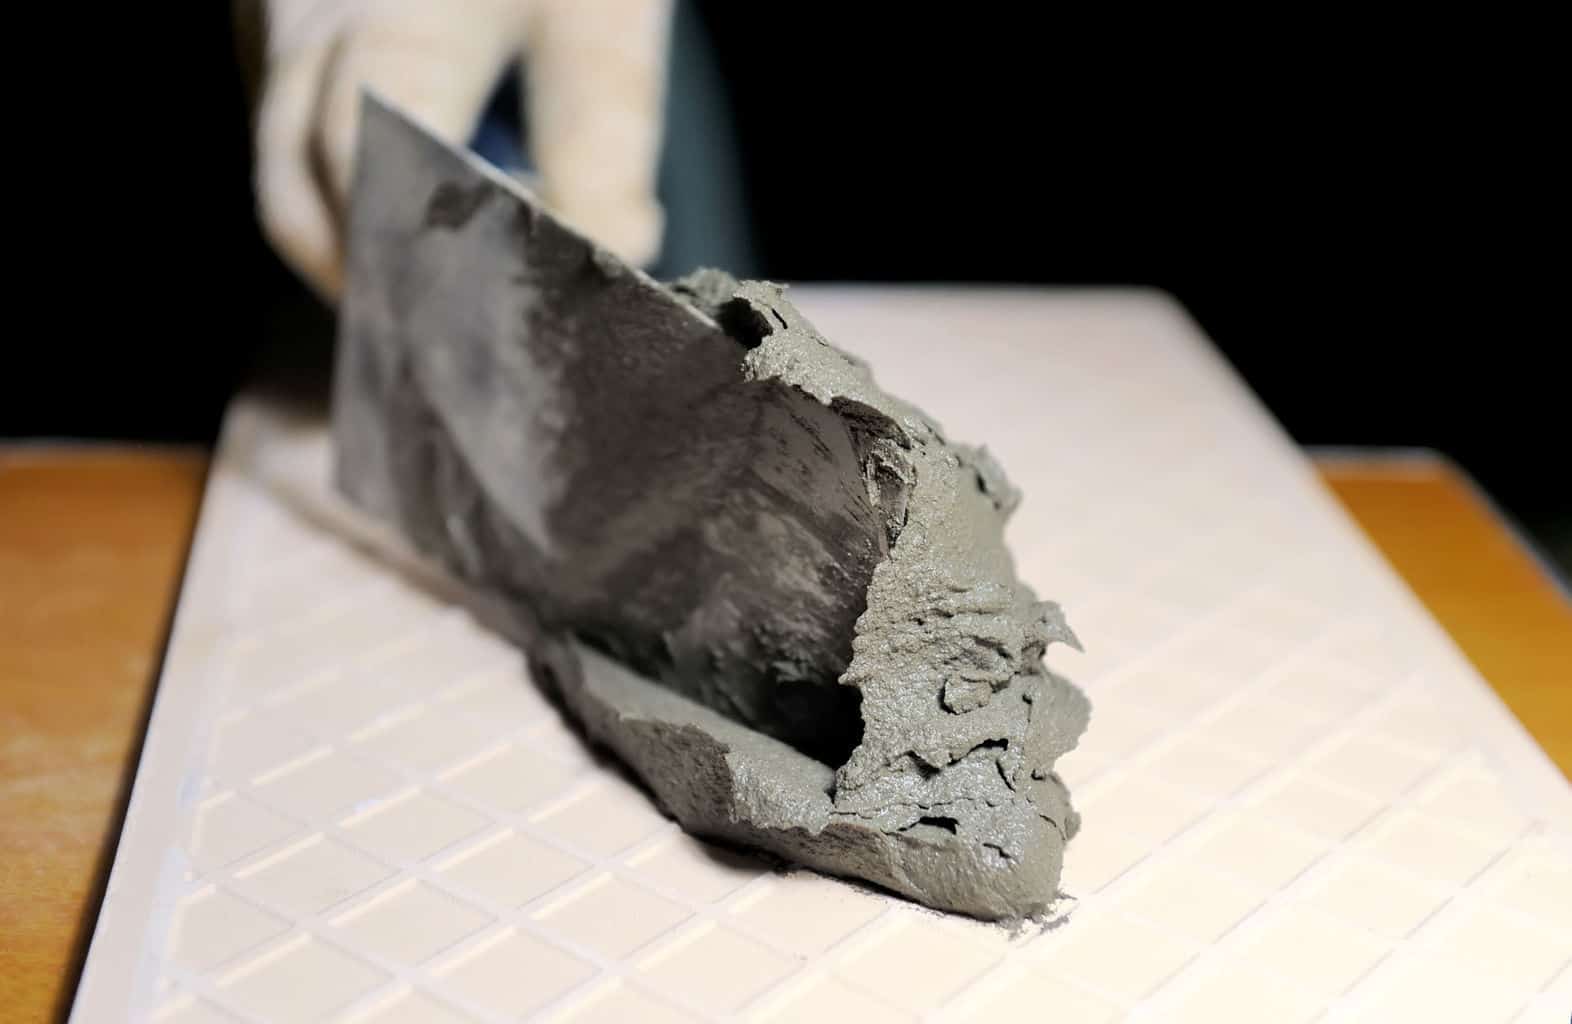
Step 4 - Mixing Mortar
There are a lot of tile mortars, also known as tile adhesive, to choose from.
The most commonly used is the thinset tile mortar. It is moisture resistant, budget friendly, and stays wet and workable for a long period of time.
Make sure that the tile mortar you choose is compatible with the site condition.
Follow the manufacturer’s instructions when mixing the mortar. Keep mixing until you achieve the desired consistency. You can either mix it on a flat metal or wood palette, or inside a bucket.
Avoid mixing too much mortar too early, as the mixture may harden before you need it. If it does start to harden, discard it and mix a new batch.
Step 5 - Applying Mortar
Once the mortar mixture is ready, dump or scoop it onto the surface. Spread the tile mortar using the flat side of a notch trowel at a 45 degree angle.
The size of the notch trowel will depend on the size of the tile. Larger tiles usually require a longer notch profile, allowing for a thicker mortar bed.
Cover only a small area when spreading the mixture, around 3 or 4 feet in length and width. Any further than that and you risk the mortar hardening before you place the tile.
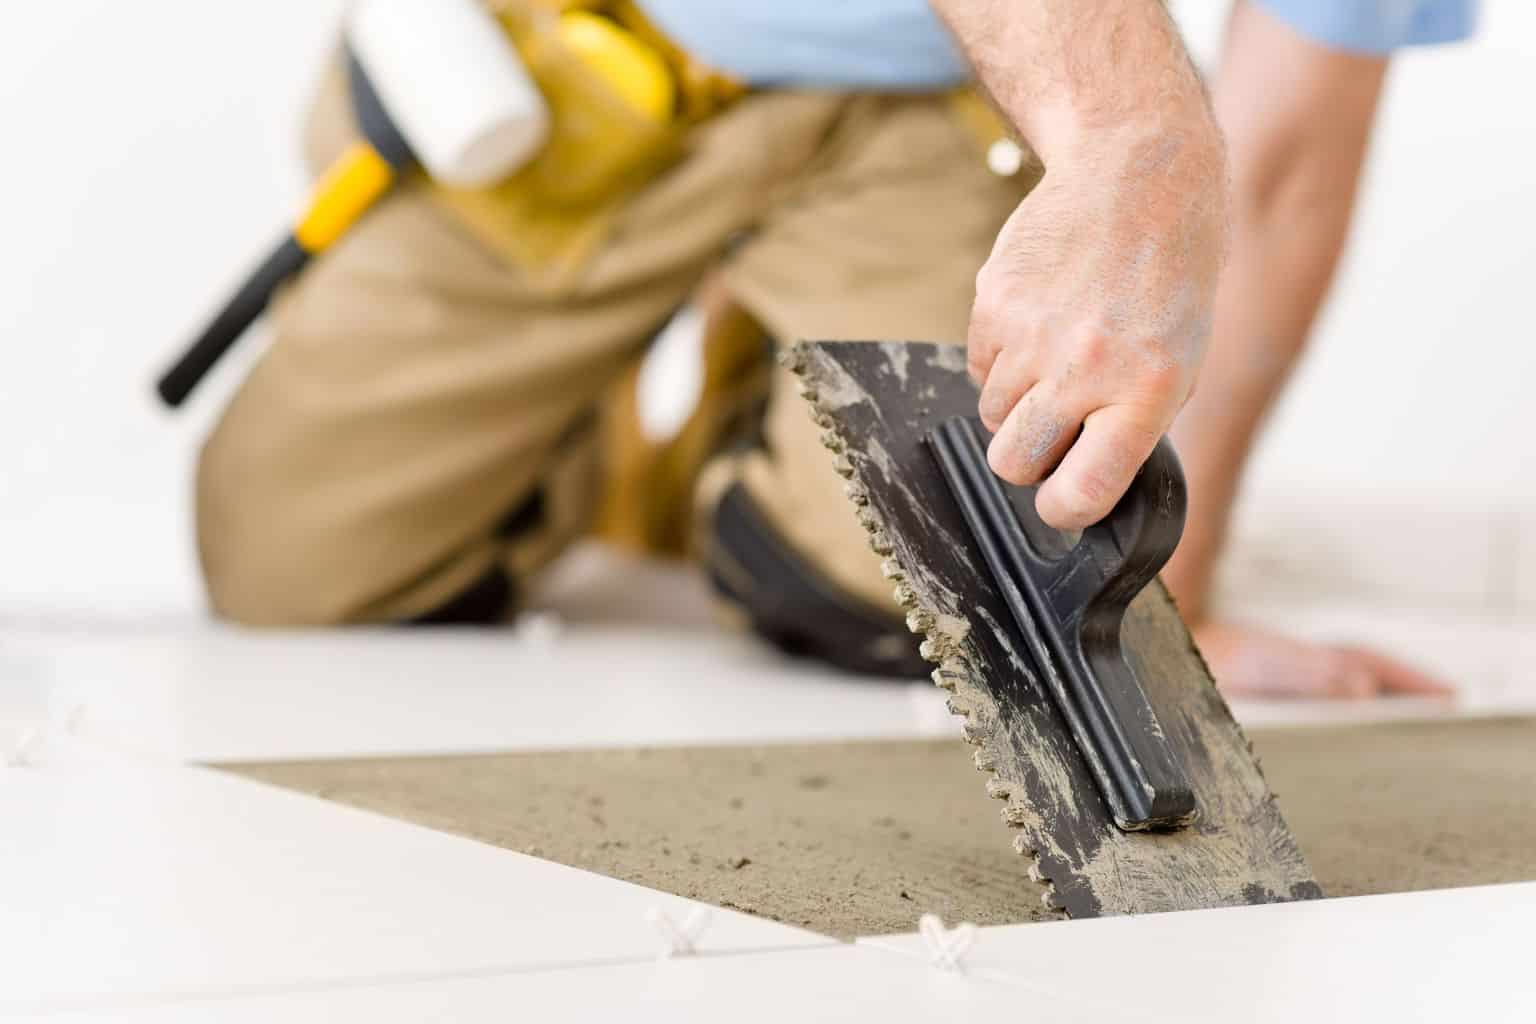
The thinset mortar should cover at least around 80% of the size of the tile.
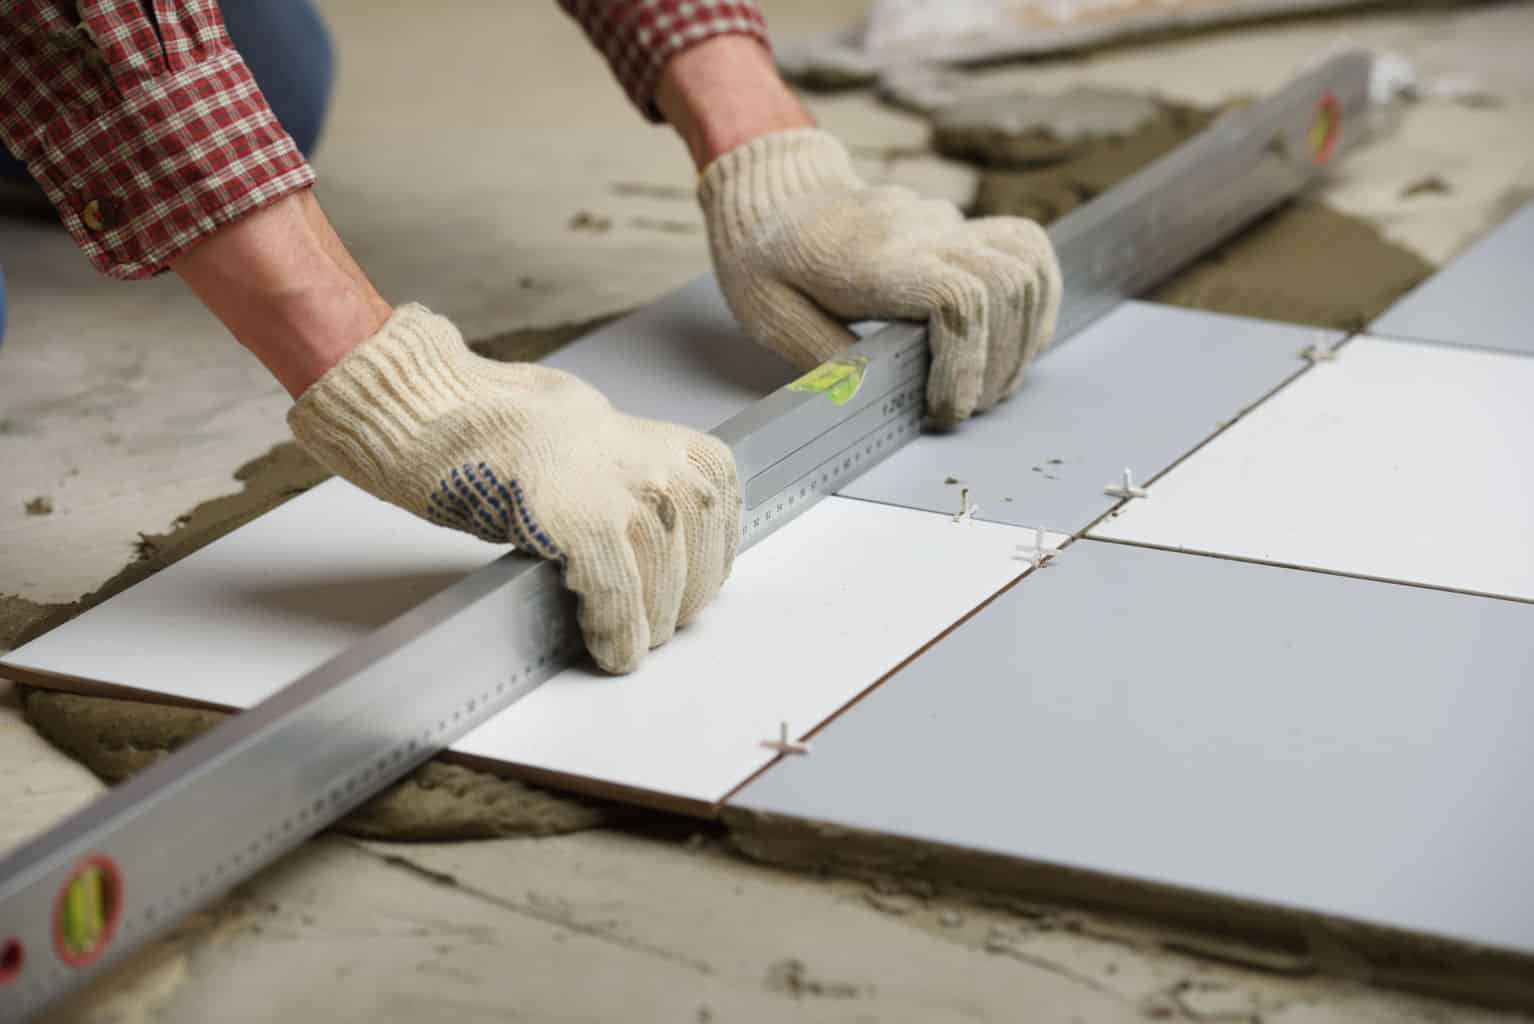
Step 6 - Installing the Tiles
When setting the tiles, work in grids of 2 tiles by 2 tiles. Use tile spacers for grout joints.
Place the tile firmly on the mortar, moving it slightly back and forth so it attaches to the mortar properly. Use a level to ensure that it is correctly aligned with the surface.
Once you have set a tile, avoid disturbing it again.
Complete setting the center tiles that do not have to be trimmed first. Afterwards, work on the tiles to be placed along the perimeter. These are usually the ones that need to be cut.
Mark the portion that needs to be trimmed using a pencil or marker.
Cut the tiles using a tile cutter or tile saw. Using a tile cutter is faster, and it gives a cleaner cut. The wet saw is used for irregular or curved cuts. For very minor cuts, use a tile nipper.
Double check that the cut tile will precisely fit the remaining gap. Clean any excess mortar from the tiles as you go along. You can use a dampe rag, spong or scrub pad.
Failure to do so will make it more difficult when you start cleaning them once they’ve dried up.
Step 7 - Grout the Tile
When you reach the part where you have to grout the tile, it means that the hard part is over. You’re almost done.
Filling the joints with grout gives it the finished look that it requires.
Mix the grout according to the manufacturer’s instructions. After mixing, let it set for around 10 minutes for the solid and liquid components to mix properly.
Add water or powder mixture afterwards to achieve the right consistency.
Spread the grout over the tiles using a grout float. Work in small areas at a time to avoid the grout hardening before it’s properly applied.
Hold the float at a 45 degree angle to push the grout into the joint. You want the gap to be compact and completely filled.
Once filled, hold the float in a flat position to scrape off any excess grout. Let the grout set for a bit before wiping off the excess.
Use a damp cloth or sponge to clean off any grout residue. If the tile still appears a bit hazy, don’t worry, because you can fix it at the next step.
Remember, don’t use a wet sponge when cleaning off the grout. Too much water can affect the adhesion of the tile on the surface. Also avoid scrubbing with too much pressure, because this can cause the tiles to move.
Step 8 - Clean Up and Sealing
Wait until the grout is completely dry, then wash the entire floor using a wet rag.
It the tile is still hazy, wait for the water to completely dry and then wipe it again, but this time with a damp rag.
Let the grout dry for another 48 to 72 hours before applying the grout sealer. Since grout is porous, a grout sealer closes the pores of the grout, therefore minimizing moisture absorption, mold and stains
Take note, though, that not all grouts require sealers, like epoxy grout. Grout sealers usually come in two types: membrane and penetrating sealer.
Membrane sealers or coatings are water-resistant, and protect only the surface of the grout. They are, however, not recommended for high-moisture areas like the shower. The non-porous surface blocks water from drying at the normal rate.
Penetrating sealers, as the name implies, penetrate deep into the pores of the grout. Once applied, water will no longer penetrate into the grout, but will instead form beads.
To apply the grout sealer, simply follow packaging instructions. There are three basic ways to apply grout sealer: spray-on, sponge or sealer applicator.
When applying, I recommend following a left-to-right direction so you won’t miss a spot.
Wipe excess sealant from each tile before applying sealant to the next one.
Once you’re done, wait for the sealant to dry for an hour or two, before applying a second coating.
Check out the video below on how to apply grout sealant:
Every year, check the effectiveness of the sealed joints by testing if water still beads when dripping over the grout. If that’s not the case, you need to reapply one coat of grout sealer.
Installing ceramic tiles or other stone tiles is not as easy as engineered or laminate wood, but it’s definitely worthwhile.
The great thing about ceramic tiles is that they are almost maintenance free if installed correctly. All you need is regular sweeping and mopping at intervals that depend on how dirty the floor becomes.
Should you need to repair a broken tile, it is also easy to replace as long as you have a spare tile in stock.
There you go. Simply follow the steps I’ve outlined above, and soon you will have a floor that is versatile, beautiful, and will last a long time.
Want to share your experience installing ceramic tiles? Feel free to comment below.
If its cost effective and low maintenance, then it sounds like a deal to me. I’ve been looking to remodel some floors in my home. Maybe Ill use ceramic.