
If so, a granite flooring installation would give you just that.
Are you thinking of installing a flooring material that would transform a room into an entirely new level of class?
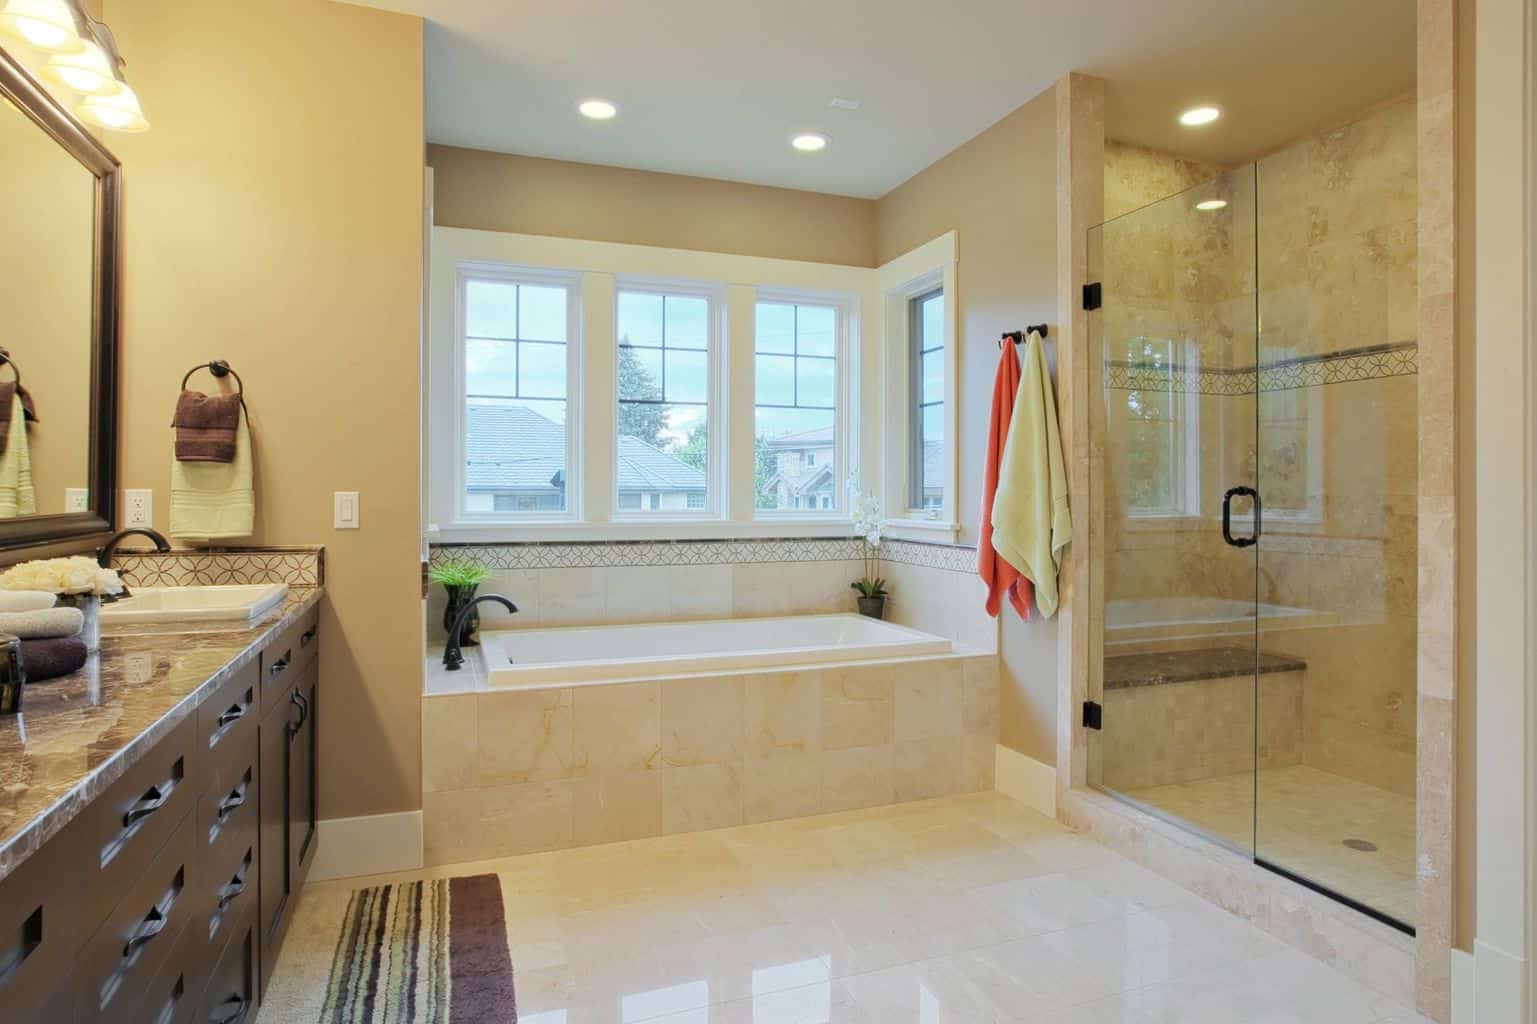
A lot of people would choose granite flooring primarily because of its unique combination of durability and elegance. The kind of elegance that can only come from natural stone.
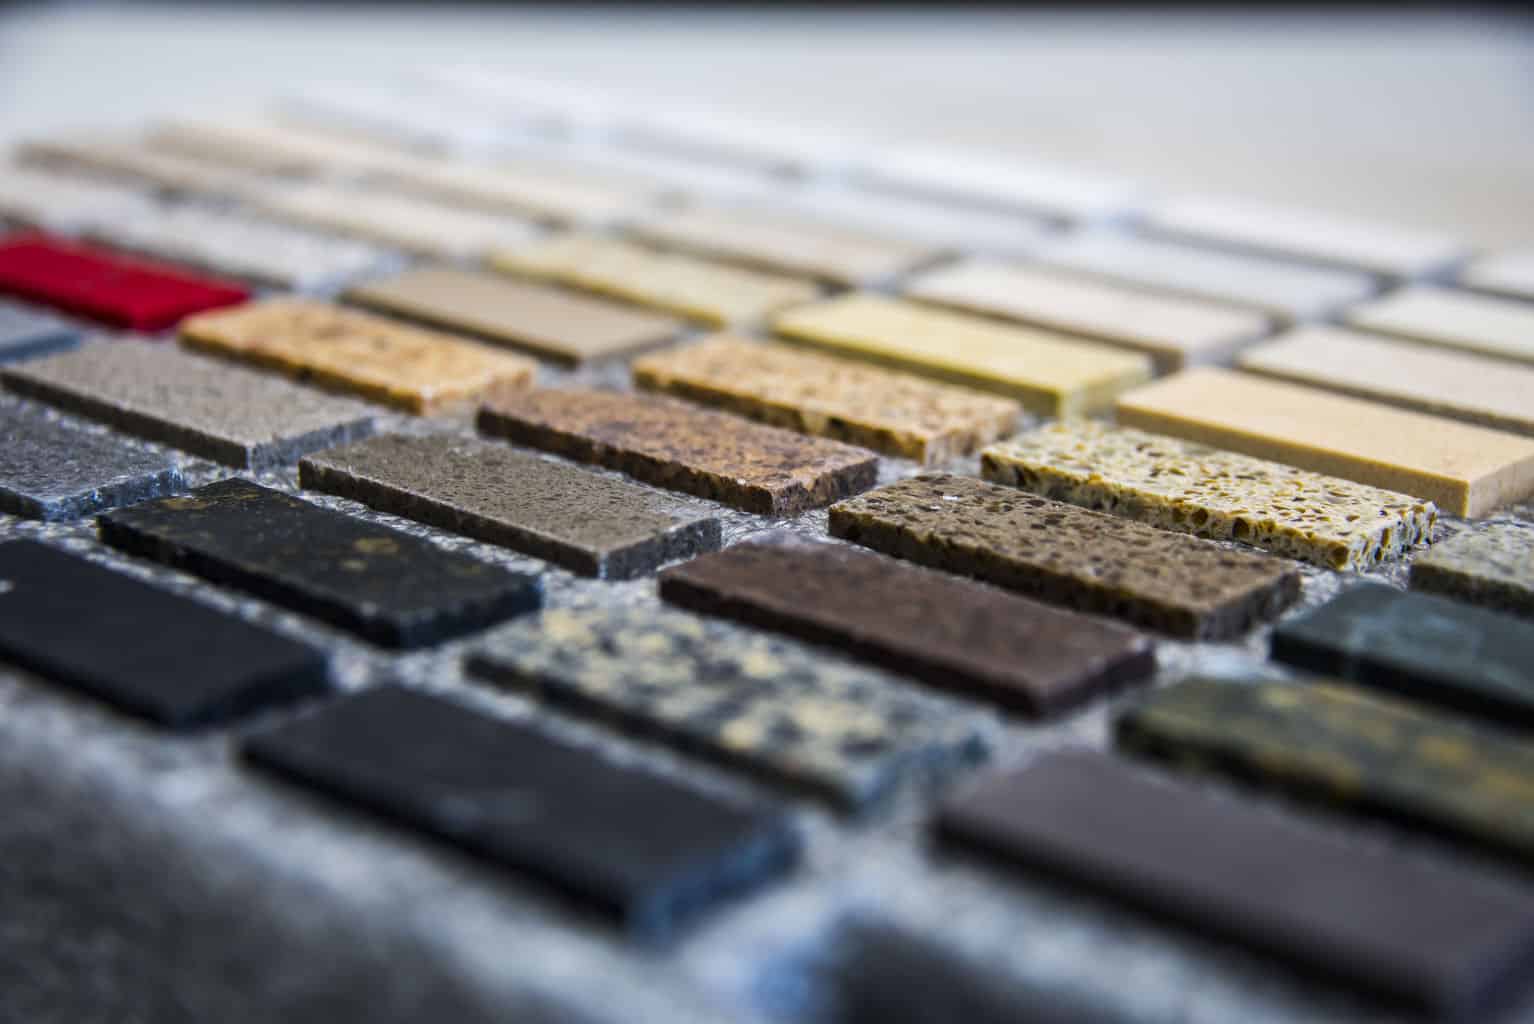
It comes in a varied assortment of colors: in black, pink, green and more. It also has different grains and patterns, showing a mixture of speckles, gold is a personal favorite of mine.
Granite is also the toughest among natural stones. It comes from a metamorphic rock with high silica content, which contributes to its hardness.
Because it is hard-wearing, it is commonly installed in high foot traffic areas like hotel and office lobbies. Since it can also withstand almost any kind of acids or chemicals, it is heat and scratch resistant, it is also used for table tops and counter tops. With proper care and maintenance, it is also resistant to stains, molds and mildew.
Granite tile size usually comes in 12 by 12 inches, in thickness of 3/8 inches.
The good thing about granite tiles is you can also install it yourself in just a few days.
This article will guide you on what you need and the steps you need to take for an effective granite installation. So keep on reading to learn more.
How To Choose Granite
The price of the granite depends on the color and pattern that you want.
Aside from that, it also depends on the quality. Of course, the highest quality is preferred but if you have a limited budget, you might opt for low quality granite.
There are 3 known grades based on granite quality: premium (first) grade, standard (second) grade and commercial (third) grade.
A premium grade granite has a precise cut and even thickness all throughout. It may have just a few fillers.
Standard grade granite have minor imperfections and more fillers, and you can expect commercial grade ones to have uneven thickness, more imperfections and non-uniformity in grain pattern.
Tools And Materials Needed
To prepare for installing granite on your floor, here are the things that you will need:
- Granite Tiles
- Plastic Spacers
- Wet Saw
- Notched Trowel
- Grout
- Grout Float
- Mortar
- Grout Sealer
- Rubber Mallet
- Sponge
- Level
Step-By-Step Installation Process For Granite Flooring
Step 1: Prepare the Sub-Floor
The first step to the question “how to install granite floor tiles” is you need to make sure that the subfloor is clean and even.
If you’re installing over concrete, patch any cracks and holes, and sweep off all debris. Fill in the low spots and grind the high spots. This will ensure that you don’t have any bumps or hollow areas that can be weak spots that can rapture your floor.

If you’re installing over old flooring, completely remove the old tiles, as well as adhesives, grouts and residues.
This is a very critical step, as an uneven subfloor can cause the granite tile to crack in the future.
Step 2: Layout the Tiles
Plan the layout before permanently laying granite floor tiles. You can either choose to start laying at the center of the space, or at the corner near the entry door.
Remove the tiles from their respective boxes and try to lay out a few rows to know how they’ll look like. Use tile spacers especially if it’s a big room, so you get an accurate idea of the size of the cut tiles along the edges. If the cut tiles will become too narrow, then you will have to adjust your layout.
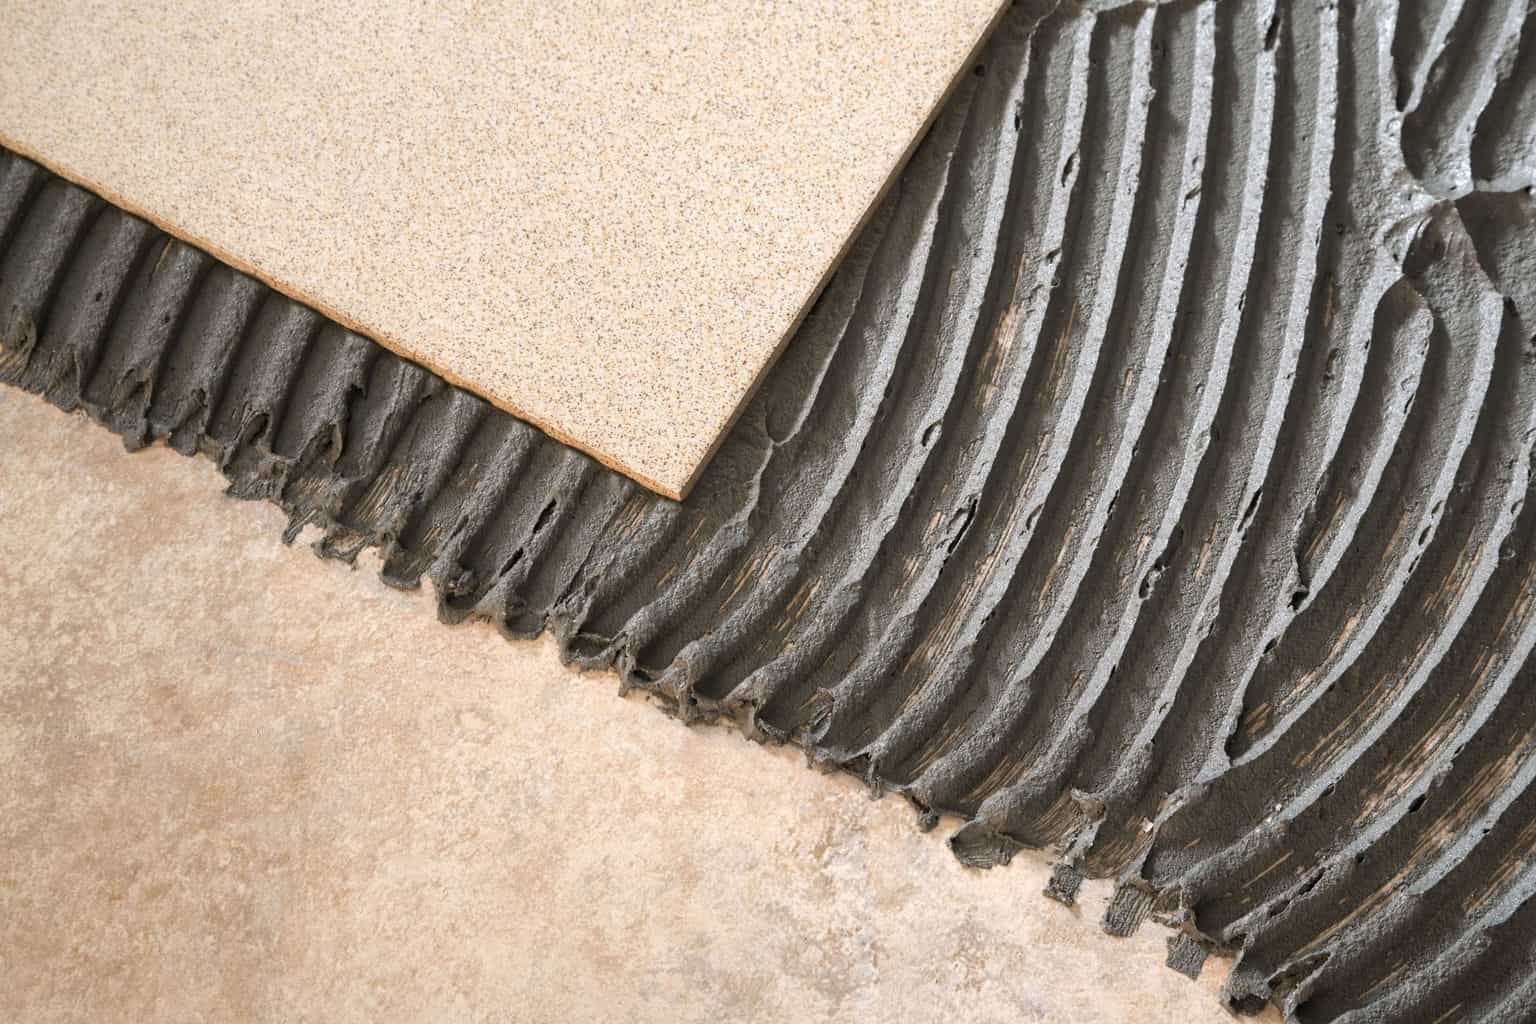
Step 3: Mix and Apply Mortar
First you need to make sure that you are using mortar that is specifically made for granite laying.
Mix the mortar according to manufacturer instructions. The recommended mix is 1 part cement and 5 parts sand and then mix with water to achieve ideal smooth consistency.
Aside from mixing conventional mortar, you can consider using a tile adhesive. You can apply it in thickness between 6 to 8mm. There’s also thin-set mortar that is already pre-mixed for your convenience like this one from SimpleSet.
Using a trowel, apply a thin an even layer over the surface and spread it covering small areas at a time.
Step 4: Install Granite Flooring
Place the granite tile on top of the mortar and press it firmly on all corners, and then twist it a little so it bonds better with the mortar.
Lightly tap the tile using a rubber mallet. This will ensure that the tile is in proper contact with the mortar.

Place tile spacers and then place the next tile using the same procedure. Continue doing this until you have covered the entire area, except for the edges.
Just like porcelain tiles, granite tiles can handle small grout joints. Typical tile spacers give 1/16 inch distances in 4 corners. However, if the granite tiles you purchased have imperfect cuts, using tile spacers can be a challenge. If such is the case, you need to increase the grout joints to around 1/8 inch, and use a chalk line to ensure the rows are straight.
Here's where you can get 1/8 inch tile spacers and 1/16 inch tile spacers.
You will need to cut whole tiles until you cover the edges all around. To do so, take measurements and you need a diamond wet saw if you want to do it easier and faster. You can also cut granite tiles using a circular saw but it is harder to set up, and there’s a greater possibility that the cuts will be imperfect.
You might want to consider installing crack-isolation membranes between the granite and concrete subfloor. This is so when the subfloor cracks, it won’t affect your finished granite. This will prevent you unnecessary costs for repairs in the future.
The video below will show you how to install crack isolation membranes:
Step 5: Spread Grout Over Tile
If you used tile spacers in between tiles, or if the distance between them is less than 1/8 inch, then you can use an unsanded grout.
Before applying, mix grout that’s good enough for a small area. It’s better to work with them in batches.
As you spread the grout over the tile, apply pressure to force the grout into the gaps. Wipe out excess grout before it hardens.
Step 6: Cleaning and Sealing
Wait for the grout to cure for 3 days before you clean the tiles with sponge and warm water. This will clear your floor of any remaining debris and residue.
After that, apply grout sealer to ensure that the joints are also protected from water and stains. One of the highest rated brand for grout sealers is StoneTech.
As for sealing the granite tiles itself, it would depend on the type of granite that you used. To test if your granite needs sealing, place a paper towel soaked in water over the granite. Wait for five (5) minutes. If discoloration occurred after you placed the towel, then it means that the granite is absorbing the water. This procedure is called the “paper towel test”. If such is the case, you need to seal your granite floor.
Next, you need to perform a solvent test. Pat some paint thinner over the granite and observe if the color has darkened after around five to ten minutes. If it did, then it means that your granite also absorbs solvents. Therefore, you need to seal it to prevent oil-based stains.
To put it simply, if there’s a change in color after exposure to water or solvents, then seal. If not, then don’t seal your granite.
As a rule of thumb, most granites that are dark in color, like browns, blues and blacks do not require sealant application. Granites that are lighter in color are the ones that are recommended for sealing and resealing after every few years.
Among the popular brands for granite sealers are: Granite Gold and Black Diamond Stoneworks.
Installing granite flooring is more difficult than common floor tiles. It requires a little bit more effort and monetary investment.
But the beautiful outcome and a lasting one at that, is worth it.
For sure your new granite flooring will make a lot of first impressions. Your dream of making your room classy will definitely be achieved.
Hope you learned a lot from my take on how to install granite.
What kind of tools did you use when you installed your granite flooring? Please share your experience in the comments section below.
Very good and informative post!
Good blog! I have found here much useful information for yourself and would like to thank you for done by work.