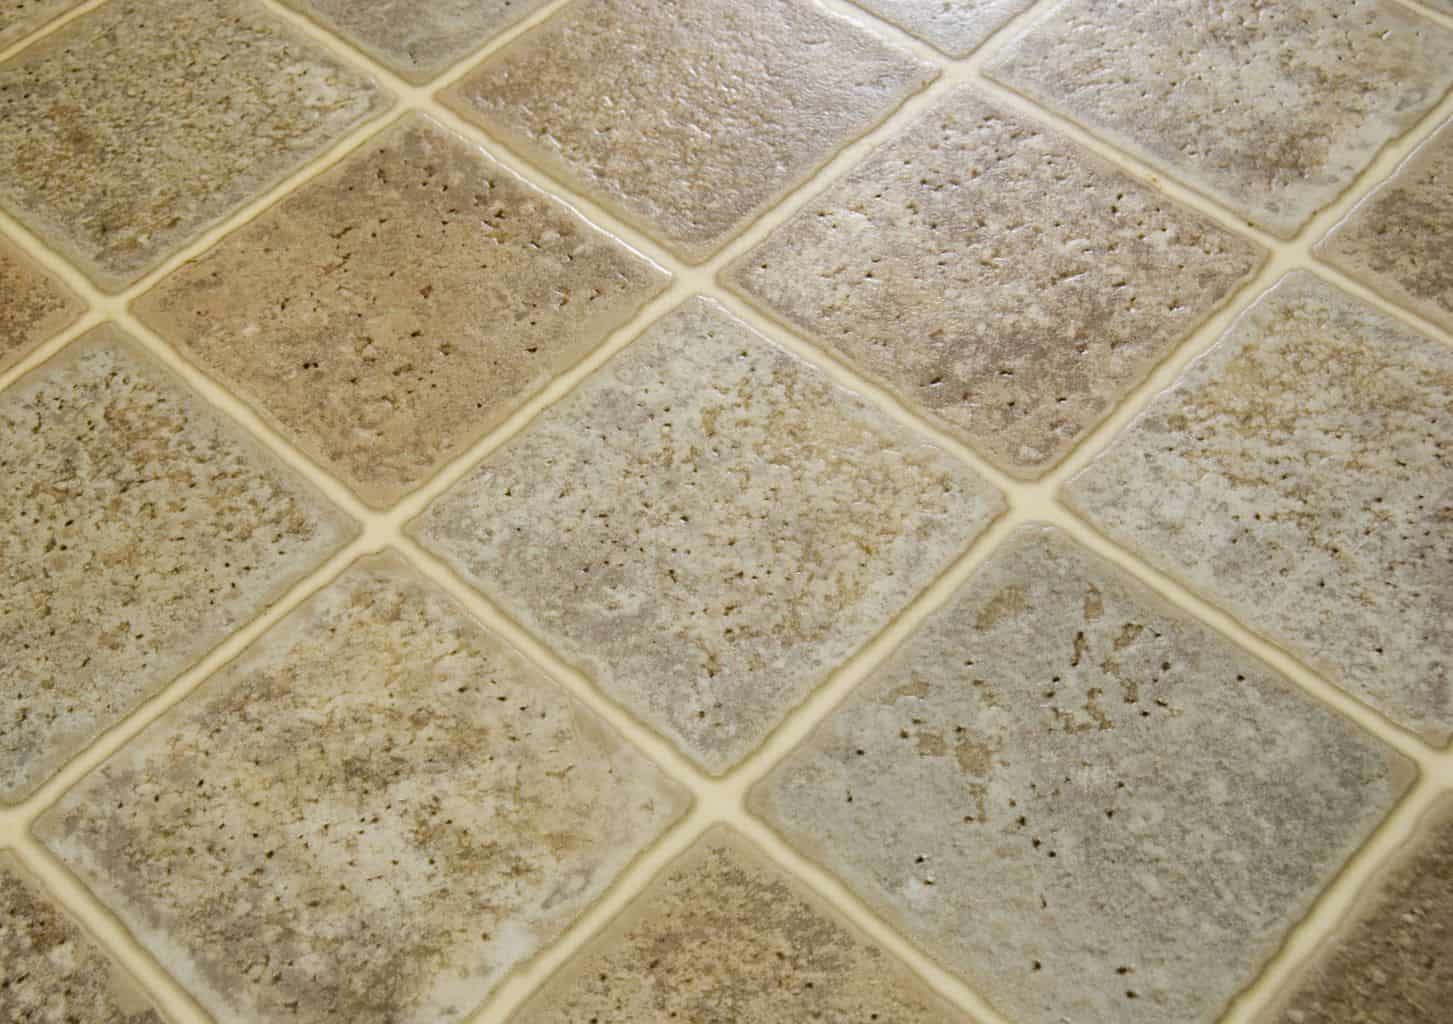
After the introduction of vinyl flooring, linoleum was used less because vinyl was cheaper. However, between the two, linoleum is still considered to be more durable and environment-friendly. If maintained and cared for regularly, linoleum can last for as long as 40 years.
Linoleum is made of sustainable components such as linseed oil, tree resins, ground cork dust, mineral fillers and wood flour. It has a backing made of burlap or canvas.

It is also homogeneous, meaning the color at the surface of the linoleum is the same through to the bottom. If it gets scratched, it won’t be obvious to the eye, and you can buff it to refinish your floor.
More importantly, it comes in many patterns and colors to match any room and theme. It is stylish, affordable, sturdy and ecologically-sound. If these are the qualities that you are looking for in flooring, then linoleum is a good choice.
Every building material has a disadvantage, and for linoleum flooring, it is that it is highly sensitive to moisture. This is why if you’re installing it over concrete, you have to ensure that the surface is prepped correctly.
Fortunately, there’s a step-by-step guide you can follow on how to install linoleum flooring on different types of subfloor.
Tools And Materials Needed
Here are the tools and materials that you will need:
- 100 lb Roller
- Carpenter Square
- Utility Knife
- Floor Scraper
- Tape Measure
- Trowel
- Hammer
- Notched Trowel
- Chalk Line
- Mop
- Chisel
- Linoleum Tiles
- Linoleum Adhesive
Step 1: Calculate How Much Linoleum You Need
Measure the area of the room in square yards. To get square yards, first calculate square feet:
Measure the length and width of the room.
Length (feet) x Width (feet) = Square Feet
Square Feet / 9 (square feet in a yard) = Square Yards
For example, a 10 ft. x 9 ft. room is 90 square feet and 10 square yards.

The amount of linoleum depends on what type of linoleum you plan to buy. Linoleum tiles will come in pieces, while linoleum sheets will come in lengths. Linoleum sheets are usually 6 to 7 ft. in width. Ask your supplier for more information.
Step 2: Remove Obstructions
Replacing the floor of an old room? First, ou need to remoce any furniture, appliances or toilet fixtures.
You also need to remove the door panels, followed by the floor baseboard.
The baseboard or floor molding can be removed using a pry bar. Pull away the remaining nails with pliers
Step 3: Remove the Subfloor and Remove Old Flooring if Necessary
It’s crucial that the subfloor is level and free from dirt and other substances before you install your linoleum floor.
If you want to cover old tiles with linoleum, you will need to reapply grout in between tile gaps to even out the surface. Allow it to dry for at least 48 hours before laying the linoleum.
If the existing floor is vinyl, you will need to remove it using a hammer and chisel. After removing the tiles, sweep off all the debris, scrape off all adhesive residue, mop off all remaining particles and then let it dry.
When installing linoleum over concrete, you need to repair all areas that might cause moisture to seep through. Otherwise, the linoleum could peel, lift or crack over time.

You also need to perform moisture and alkaline testing to double check if the surface is ready for linoleum installation.
What’s the solution for cracks and uneven concrete surface?
You need to apply a floor patch mixture using a putty knife or trowel. Smooth it over the affected surface and blend it with the surrounding concrete to even out the surface.
After that, mix the floor leveling compound with water until the recommended consistency is achieved. Pour the compound per row and spread it out evenly after each pour. Feather the edge of the compound using a trowel.
The floor leveling mixture will fix any irregularities and depressions in the concrete, resulting in an ideal flat and smooth surface.
Sand the entire floor with a course-grit sandpaper wrapped around a block of wood. This will make the concrete surface coarse, making it easier for the linoleum adhesive to stick to the surface.
Step 4: Acclimate Flooring
You might make the mistake of installing the linoleum right after you buy it.
You have to leave the linoleum at the area where it will be installed to acclimate. This is so the linoleum will adjust to the temperature and moisture content of your room. It will also prevent the flooring from warping after it’s installed.
For linoleum sheets, it is best to leave it unrolled and leave it in the room for at least two days.
Step 5A: Install Linoleum Tiles
Dry Fit the Tile
Without any adhesive, place the edge of one tile at the center or starting point. Continue with another tile and so forth until you have almost filled the entire room. Once you are convinced that you have achieved the desired floor pattern, then you can proceed with the installation.
Spread the Adhesive
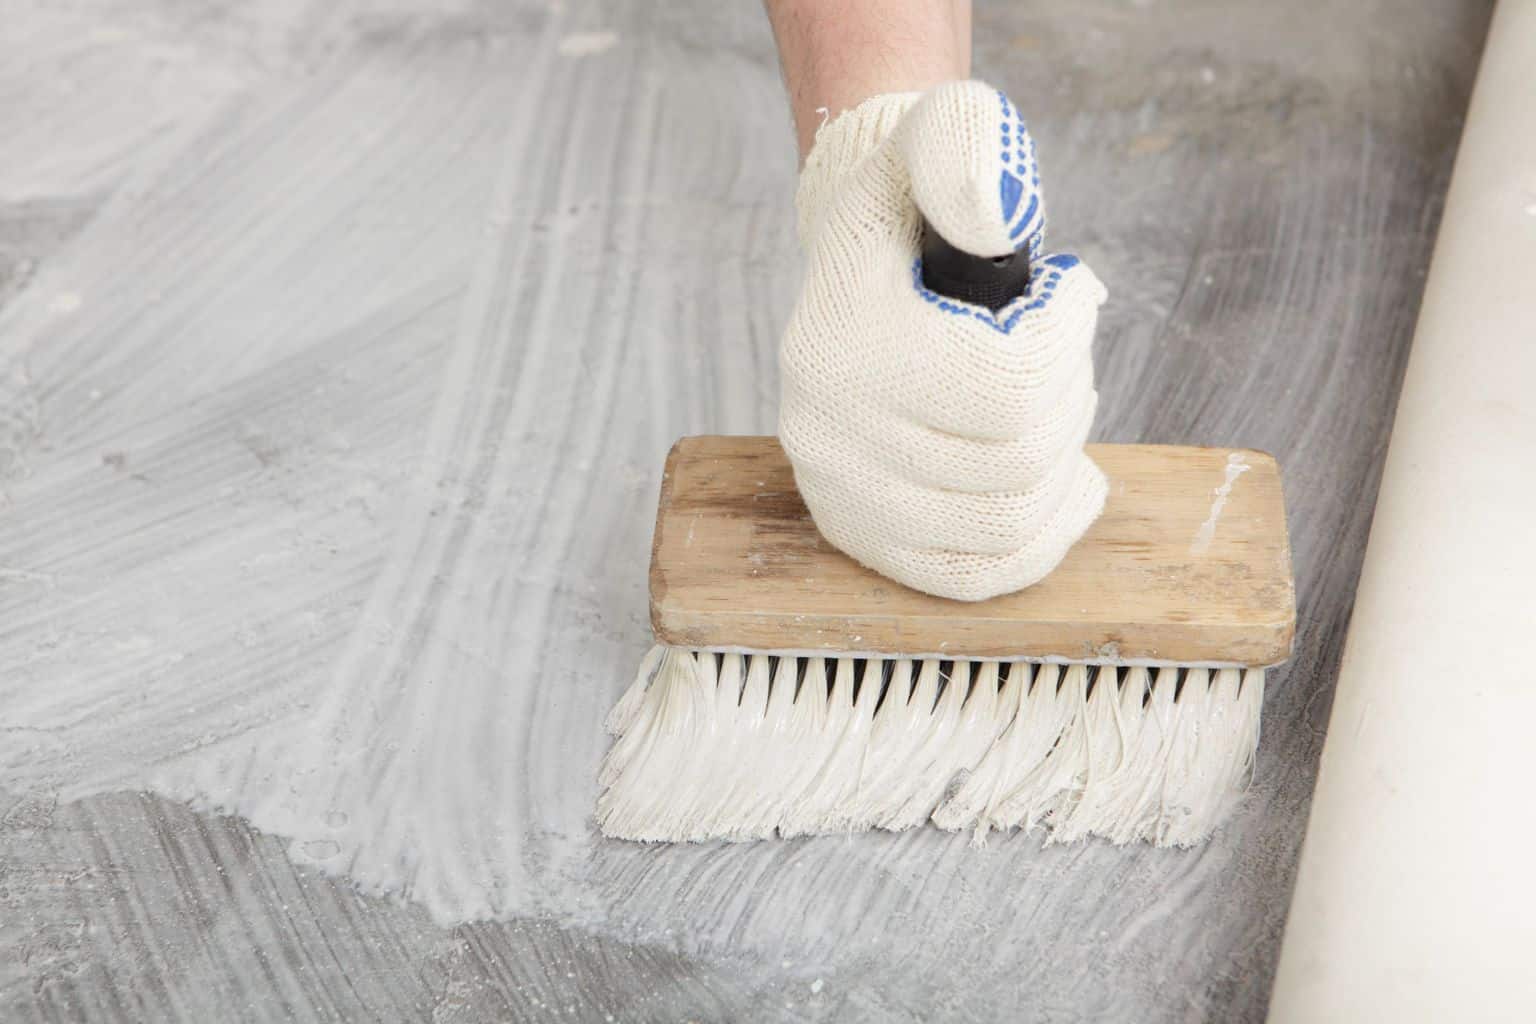
Remove the tiles again and then spread adhesive on the floor with a notched trowel. Apply adhesive only within manageable areas, so it will not dry up prematurely. Continue until all the tiles have been laid, except for the tiles bordering the wall.

Cut the Tiles to Fit
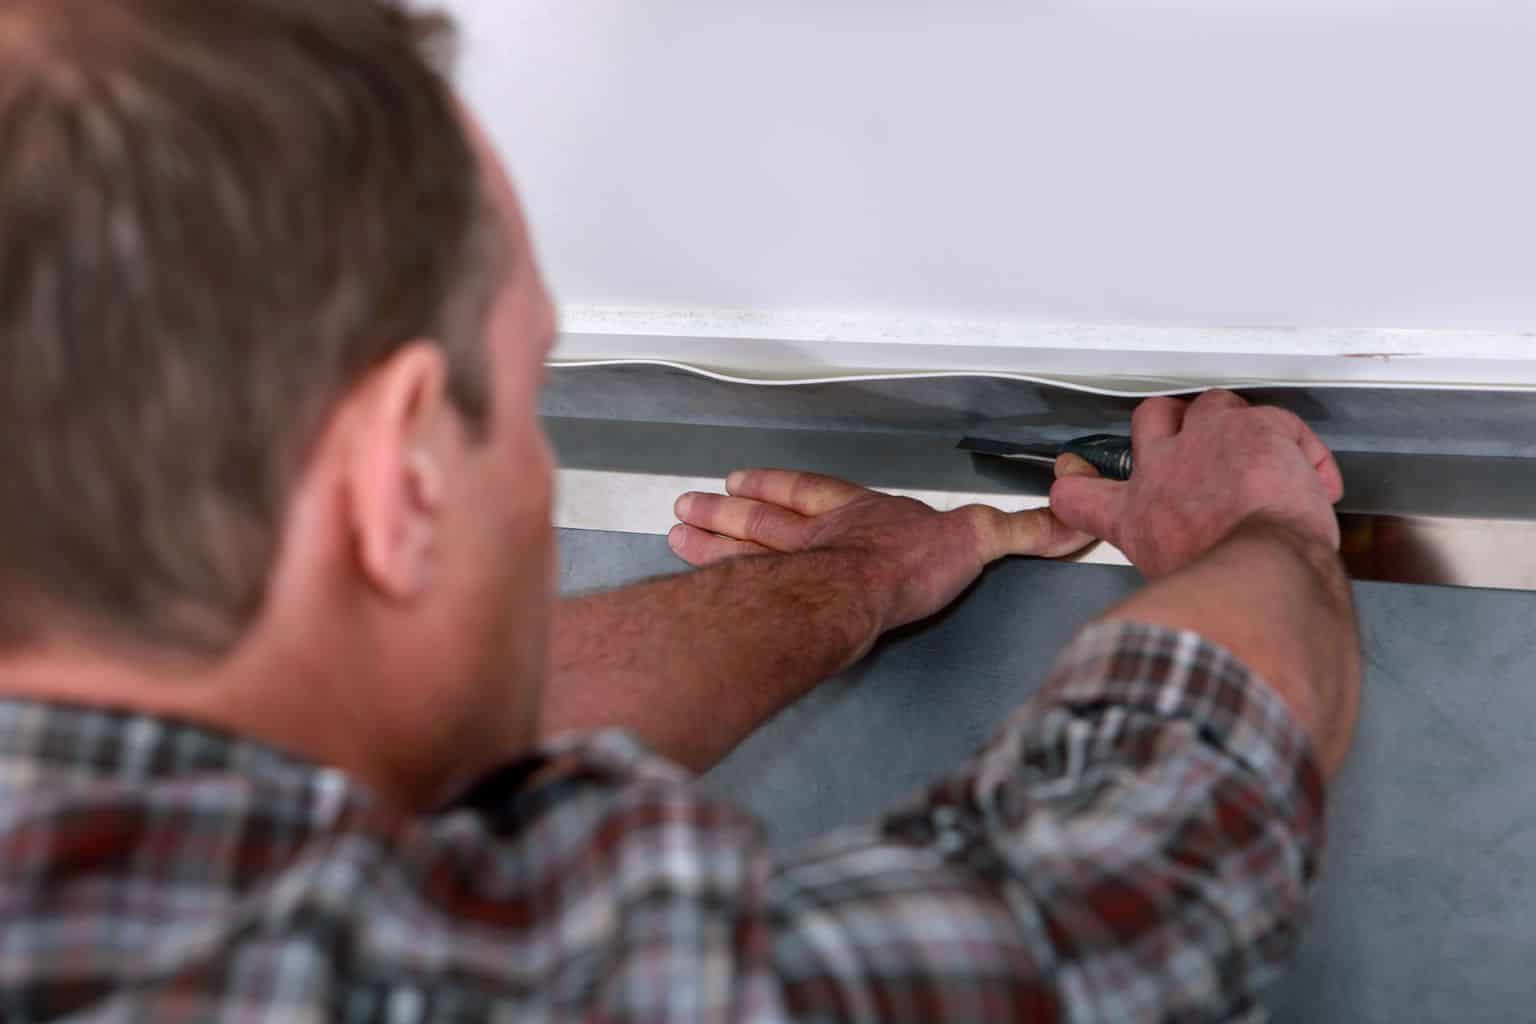
For the remaining border tiles, measure from the tile line to the wall and then mark your tile with a pencil. Cut the tile using a knife and a carpenter’s square. Apply adhesive on the floor and then lay the tile with the cut edge facing the wall.
Roll the Floor
To ensure that they attach to the adhesive properly, use a heavy roller over the tiles before the adhesive dries permanently.
Step 5B: Installing Linoleum Sheet
Make a Template for Cutting
There’s no room for mistakes when cutting your linoleum sheet, since it comes in one whole piece. Before you make that cut, it is best to do it using a template first. The template can be made of newspaper glued together or of felt sheet.
Measure the room and lay the template on the surface. When there are obstacles like fixed cabinets and toilets, trace and cut the template around it.
Trace the Template onto the Linoleum
Unroll the linoleum and then place the template over it. You can either draw the template or cut the linoleum right away. Just make sure that they match perfectly. When cutting the linoleum, leave an allowance of 1/4 inch around the edges for expansion gaps.
Place the Linoleum and Roll Outward
Place the linoleum on the floor and then use a floor roller to flatten the sheet properly, eliminating wrinkles, bubbles or waves. To use, start rolling from the center, pushing it in an outward direction. You can purchase or rent the floor roller from a home improvement store.

Manage the Number of Sheets
For very large areas, you will need more than one roll to cover the floor. If this is the case, make sure that you only cut and unroll the sheets that you can install on the same day. Sheets that are cut and fit in the morning, for example, should be installed within the next five hours.
Make sure that you install the rolls in consecutive order.
The seams between rolls should be far from existing concrete joints or expansion joints. The distance should be at least 6 inches apart. The same rule applies if you’re laying linoleum over vinyl or existing linoleum. If you are installing over tile, the seams should be laid at the center of the tile.
Watch the video below to get a clearer idea on how to install linoleum sheet flooring:
Step 6: Cover the Edge
Now that you’re done installing the flooring, you can nail the baseboards back into place.
Step 7: Clean Up
Remove any excess adhesive with water if it’s still wet. Wipe it off from the tools that you’ve used as well. It the adhesive has already dried up, use a fine nylon pad with floor cleaner and water.
Wait at least 2 days before putting in furniture and allowing people to walk on the floor.
Installing linoleum flooring can be done in many ways. By using the proper tools and techniques, you can easily improve any space.
The end result is a visually appealing room, with a durable, affordable and sustainable flooring material.
Care to share your tips for installing linoleum flooring? Please comment below.

Thank you very much