
Installing New Vinyl Flooring
Whether you are using vinyl tile or roll flooring, installing vinyl floors is a matter of patience and planning to execute a beautiful finish. Installing vinyl floors is more than just a weekend chore, it’s an investment in the protection of your home.
A little time from you can result in a lot of long-term use from your new vinyl flooring.
The advantages of installing vinyl flooring include:
- Quick! Installing vinyl floors doesn't take a lot of your time.
- Cheap! Materials needed for the floors and the installation are inexpensive.
Deterrents to installing vinyl floors can be:
- Tools: You will need to have basic tools on hand for cutting and measuring.
- Pre-Installation Prep: There is some prep work that will need to be done prior to starting installation to get the floor ready.
- Leveling: You may need to level the floor to make it conductive to laying the vinyl. This can be a fairly involved and tedious process.
- Toxicity: Off-gassing from the vinyl and/or adhesive can be an issue if the are where you are laying the flooring is not well ventilated.
Why Choose Vinyl For Your Flooring
Vinyl is an incredibly durable form of floor covering. It comes in fantastic colors, designs and patterns, and can really add some wow-factor to what may otherwise be a boring utility space, like a mud room or a laundry room. Vinyl is also a wonderful option for rooms where water damage is a possibility, such as a bathroom, basement, or even a kitchen. Vinyl floors can stand up to harsh treatment and conditions without needing anything more than a wipe.
When determining if it is time to re-lay vinyl floors, what you have to take into consideration is the wear layer of the flooring, which is the surface that stands between someone’s sole and the actual vinyl surface. This protective layer can be worn down with time, especially in locations where dirt is most prone to being ground into the floor, like at the front or back door. If the flooring that is in place seems to be worn, this is a good indication that it is time to replace the vinyl flooring. The good news is, relaying vinyl flooring over existing vinyl is very simple! Even if the flooring that is currently in your home is not vinyl, this is a home renovation project that can be completed in the span of a weekend; you just may be required to do a little additional prep work.
Tile Vinyl or Roll Vinyl. Which is the Right Choice for Your Install
Installing vinyl flooring seems to be the way that most homeowners decorate and protect their bathrooms and basement floors. One big decision is, whether you will be laying tile or roll vinyl. Either one is quite simple to do. While laying tiles may be a bit easier than the roll vinyl, either one can be done with a little patience and preparation. The determining factor for you should really come down to the final look of the room, the room’s use, and your personal preference. Vinyl tile has almost limitless design possibilities, as the tiles can be laid in any configuration. But, if you are really looking for the best deal possible, sheet vinyl comes in a little bit under the price of the vinyl tiles per square footage. Of course, if this is going to be a room with a lot of traffic and you want to get long term mileage out of your vinyl flooring, you may want to pay the additional cost for the tiles, as it is much easier to replace a single tile if there is any damage to the flooring than it would be to replace an entire sheet.

The Best in Vinyl
Vinyl flooring is easy to use, it's hard wearing and tough, while still being beautiful to look at.
It's not about whether or not to use vinyl for flooring, but simply which vinyl you should be using!
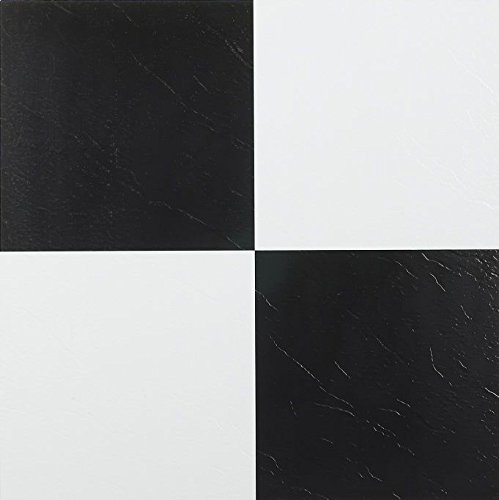
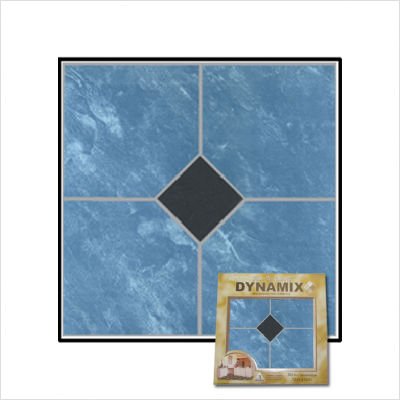
The Best Vinyl Tiles

Installing New Vinyl Flooring: A How-to-Guide
1. Test for Excessive Moisture and Good Ventilation
The preparations needed include selecting a room that isn’t too hot and is well-ventilated. Bathrooms are a good example because they have exhaust fans that vent moisture and will help keep the space well ventilated while you are working. You will need a clean and dry surface upon which to install the vinyl floor. If you’re installing vinyl on top of preexisting vinyl, then you just need to clean the area well and allow it to dry completely before installing the new flooring.
If you’re installing vinyl tiles on a concrete basement floor, or other concrete surface, you will want to do this simple test: take a small piece of vinyl tile and attach it to the floor. After seventy-two hours, try to pull the tile up. If the tile comes up without much trouble, the surface is not dry enough for installing vinyl floor tiles. You will need to find a way to remove the excess moisture; using a dehumidifier for a few days may do the trick. It could be that a high water table causing the moisture is the problem, and that can be more difficult and expensive to fix.

2. Measure Out the Space Carefully
Take careful measurements of the area to assure that you have enough vinyl floor tiles. You may want to purchase more than is necessary to adjust for any mistakes that you may make and to have extras on hand in the event of damage down the road. As any pro will tell you, always measure twice! If there are any discrepancies between your first and second measure, measure two more times until you get the same number both times. This may seem tedious now, but it’s certainly better than a repeat trip to the store for additional vinyl after you have already started the install, or ending up with more leftover than is necessary!
3. Prepare the Temperature of the Room and Floor
One trick to use before you start to lay your vinyl flooring is to turn the heat on to 75 degrees and leave the flooring product (and glue) in that room for 72 hours prior to installation and throughout the installation job. That lets both the product and the floor get warm enough that the vinyl is flexible and everything is the same temperature. By having the floor and product the same temperature, they adhere to each other better. After you have finished installation, when you return the hear to your regular setting, the floor and flooring cool together, and as the vinyl shrinks (that's what happens when things cool), it is pulled taught, making an even tighter contact.

4. Level the Floor
When you are installing vinyl floors on top of old vinyl floors, you may need a special leveling paste. This is especially true when you are installing vinyl floor tiles, fill these areas with the manufacturer's recommended dry floor filler, allow drying, and then proceed with the installation.
5. Remove Floor Molding and/or Baseboards
Another thing that you can do to ensure your vinyl floors look great is to carefully remove the floor molding, or baseboards. By removing the molding you make it possible to place the vinyl very close to the wall so that when the baseboards are replaced it looks professionally completed. Or, you can replace the baseboards with new material, completing the fresh, new look.
Once the baseboard is removed and the floor prepped, snap a chalk line so you have a straight line to work from, ensuring your vinyl is laid straight. That gives your finished floor a professional look.
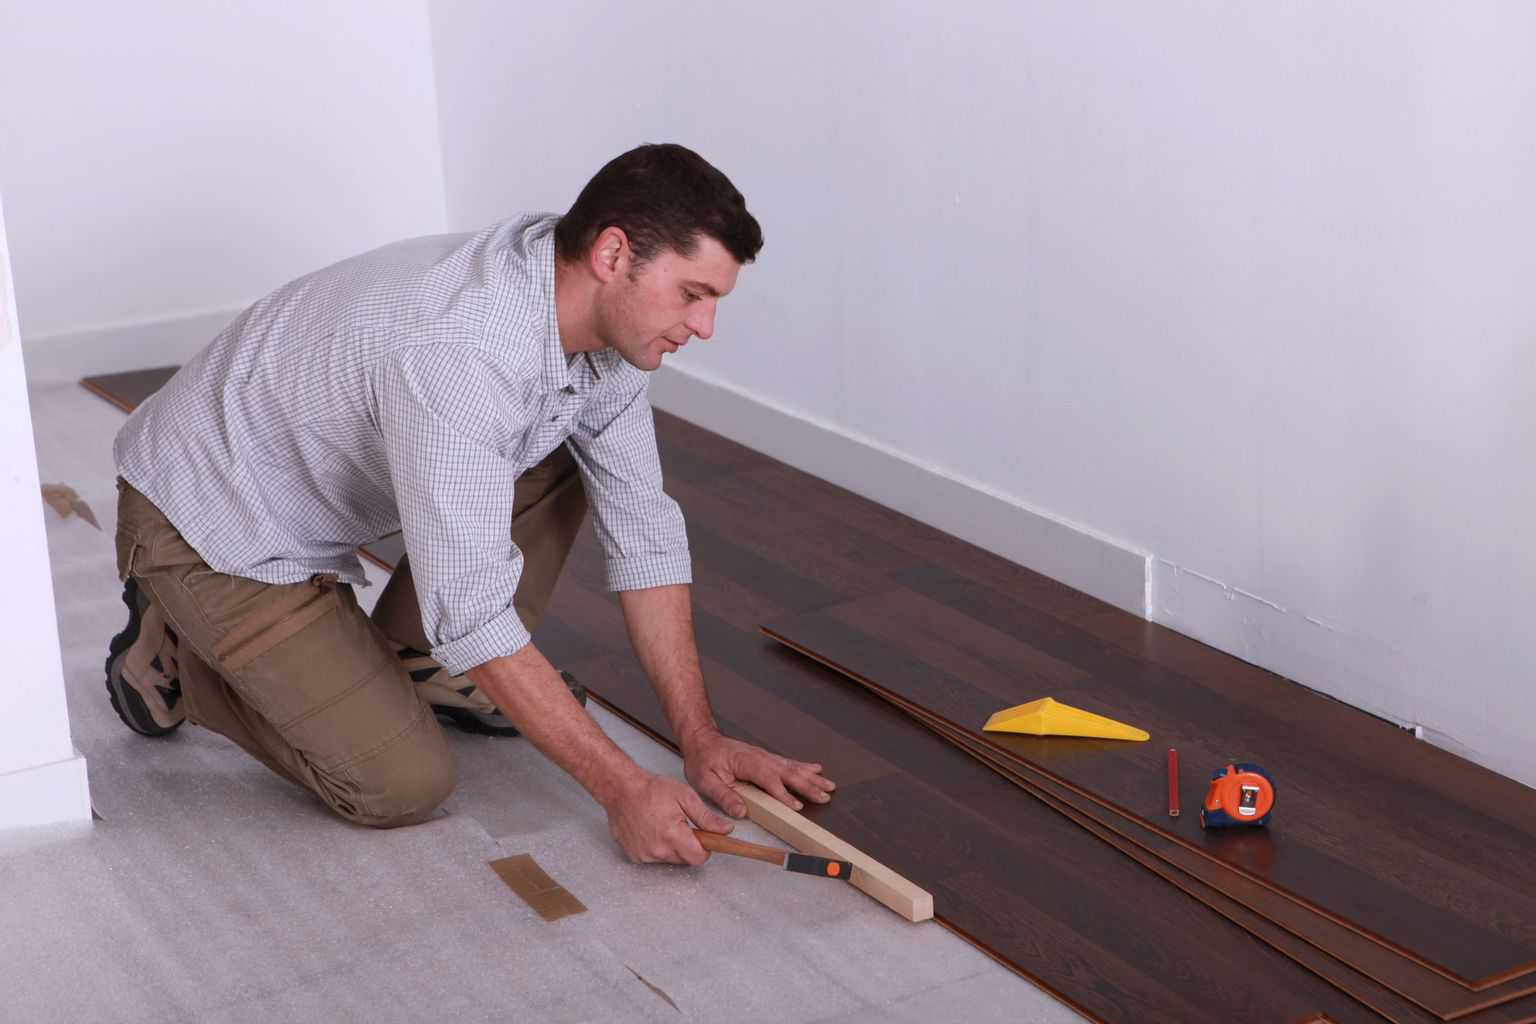
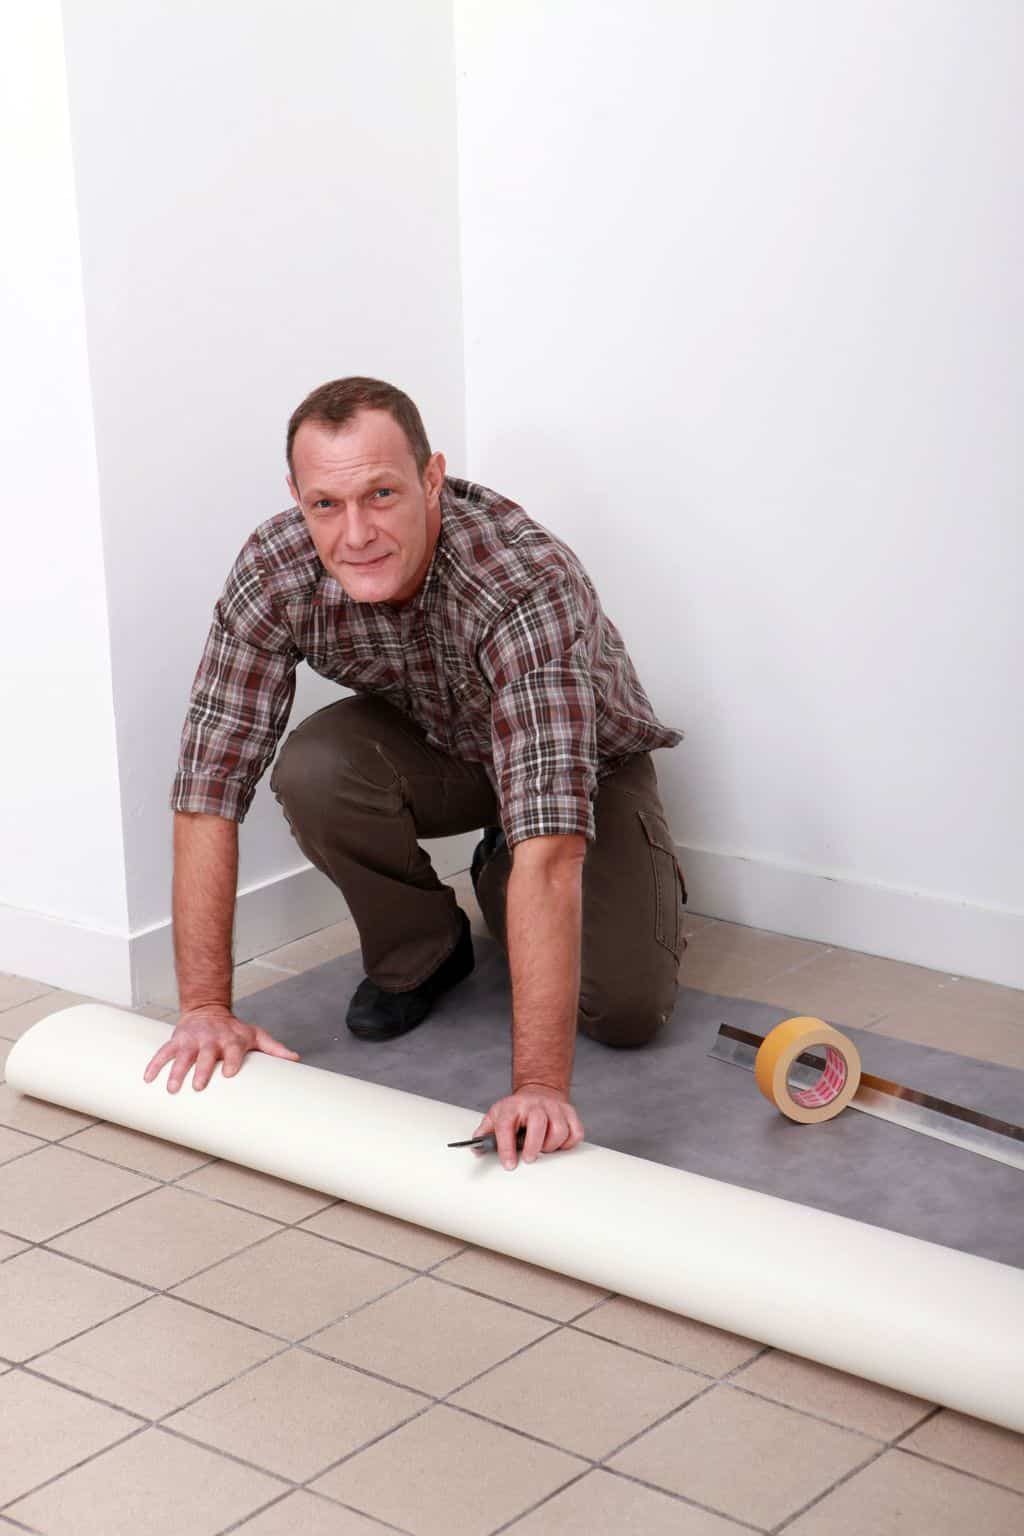
Installing the Vinyl Floor
You are now ready to begin the install! If you are using roll vinyl, roll your vinyl across the room. Mark where you will cut off excess material or cut around intrusions such as toilets, built-in bookcases, or walls. Using a solid backing board, cut out the pieces you just marked, carefully rolling the vinyl so you can access those spots. You can use either a perimeter or full adhesion technique. For the full adhesion technique, roll the vinyl up with the decorative side facing inwards. Spread the “glue” across the entire floor, unroll the vinyl onto the floor, and use a roller to ensure all of the vinyl is pressed to the glue. It takes a bit of effort, but if you work slowly, carefully and methodically, this is a very efficient way to achieve a fantastic, even look for the flooring.
To lay vinyl flooring tiles, place your tiles down in the immediate area you are working. Depending on the type of adhesion method you are using, either put adhesive on the floor where the tile will go or peel off the glue-down backing, and put the tile in place. Push firmly. Proceed to the next tile. Laying vinyl flooring tiles is a cinch, but you will still want to work cautiously and take your time. Once the floor is in place and has had time to cure, put baseboards in place. The project is done!
For more detailed installation directions, rely on your flooring manufacturer’s directions, or find a do-it-yourself website that gives you step by step directions with pictures or follow a video like this one:
Installing vinyl flooring doesn’t need to be a chore. It’s a great way to create a beautiful room that really pops! And with all of the advantages of vinyl flooring, who wouldn’t be willing to commit a weekend to this simple project that can really protect your home’s value and usability!
Background and History of Asbestos Vinyl
Asbestos vinyl flooring was widely used until 1972. Vinyl is made from a combination of ethylene and chlorine that result into a plastic resin. Back then, asbestos was the additional component that improves its strength and insulating properties. Apart from vinyl flooring, asbestos was also used in wallpapers and ceiling tiles.
If the vinyl is intact, it doesn’t pose any threat. However, problems started to arise when floorings are cut, damaged, or get worn out through time. Back then, those most susceptible to having asbestos related diseases were vinyl factory workers, floor installers and construction workers.
Until 1972, asbestos was used in a variety of building material such as roofing, exterior siding, window sills and linings, and vinyl flooring. Asbestos is a group of minerals known for their strength, flame/heat resistance, and indestructibility, and was considered ideal for insulation and fireproofing. However, once it was discovered that asbestos fibers can result in severe illness and disease when inhaled, the use of asbestos was banned by the EPA.
How To Check If There Is Asbestos Flooring In Your Home
Unless clearly marked on the product’s label, asbestos is impossible to identify without examining a sample under a microscope.
A. Size of Tile
One easy way for you to know if it is an asbestos vinyl is through the size of the tile. Before the 1990s, these tiles were manufactured in 3 sizes: 9 x 9 inches, 12 x 12 inches, and 18 x 18 inches. At present, standard square vinyl tiles are only 12 x 12 inches.
B. Brand of Tile
If you can still find out which brand of tiles was installed, here are some brands that manufactured asbestos flooring: Excelon, Fashionflor, Flor-Ever, Gold Seal, KenFlex, KenTile, Sears and Solarian.

C. Laboratory Testing
Testing for asbestos vinyl flooring can be done by a professional asbestos contractor or by using a do-it-yourself sampling kit.
- First, you would need to cut off a portion of you vinyl flooring as a sample. Spray water mixed with liquid detergent on the are where you're going to cut the sample from. The mist will ensure that asbestos fibers will not dissipate into the air.
- Using a utility knife, cut a small strip of the tile, around 1/8 x 1 inch in size. Cut all the way to the bottom so you can include the backing and the adhesive in the sample.
- Place the sample into the bag and ship it back to the testing laboratory.
- Wait for the result and if the sample consists of more than 1% asbestos, then it means your floor does contain asbestos.
Your Options: Removal Or Installing A New Floor On Top
If your asbestos vinyl flooring is chipped, crumbling, or frayed, it must be removed before laying a new floor. The asbestos fibers from the damaged floor can cause health concerns when the fibers are released into the air. However, intact asbestos vinyl flooring should not be removed because the removal of an intact floor poses a greater risk than simply covering over the old flooring. Leaving the old floor as is will be the most safe action you could take because you’re not disturbing the asbestos in the material.
Considerations and Risks Before Removal
If you determine that the asbestos vinyl flooring must be removed, asbestos abatement contractors are highly recommended. Homeowners living in a single family home may also remove the asbestos but legally, family members and friends who help must do so voluntarily and without pay. Moreover, if you as a homeowner are not confident in your ability to safely remove the asbestos vinyl flooring, hire a certified asbestos abatement contractor. Asbestos removal is difficult work, and can be physically demanding and potentially dangerous to your health.

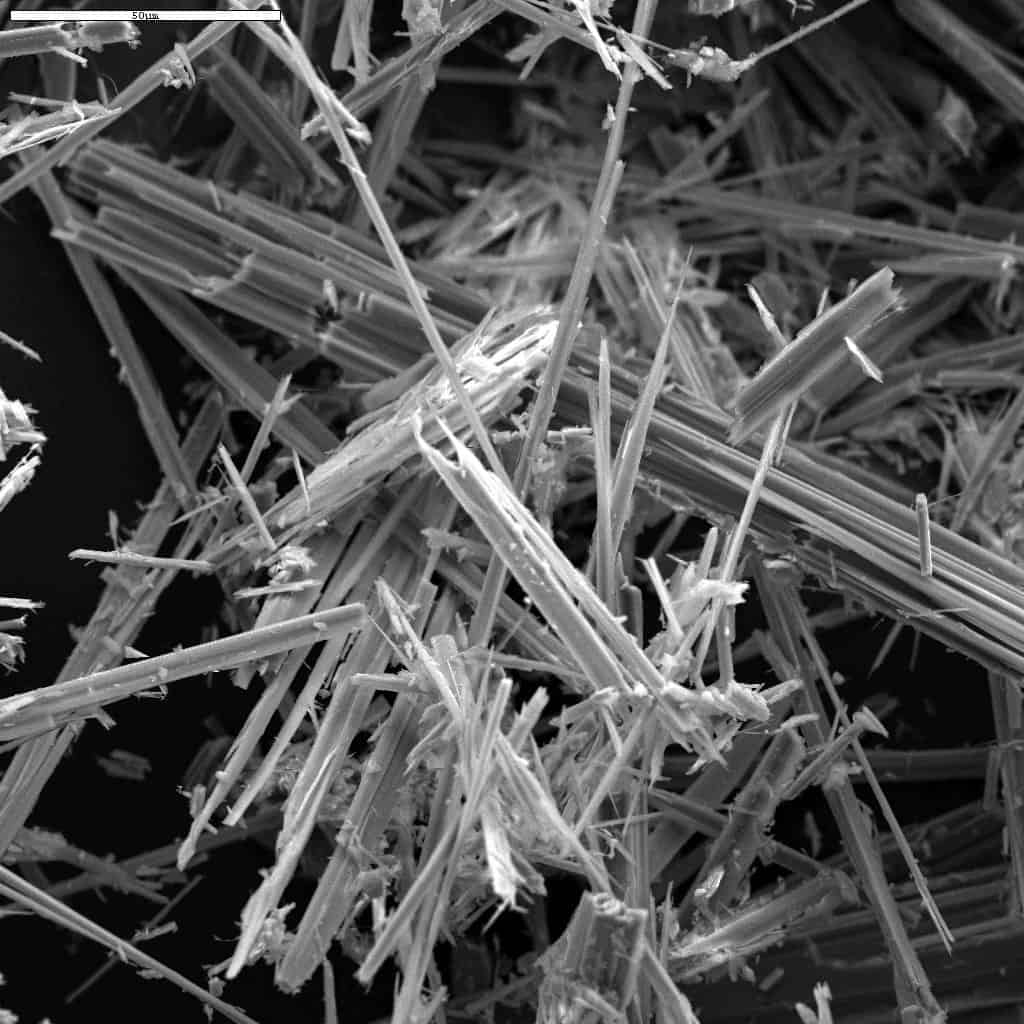
Asbestos fibers are up to 1,200 times finer than human hair and when inhaled, they can directly penetrate your lungs. Even after 3 decades of inhalation, asbestos can lead to lung cancer, mesothelioma, breathing problems and heart failure. Even the slightest exposure to asbestos can be risky, that is why medical experts emphasize taking precautionary measures when dealing with asbestos in home improvement projects.
Tools And Gear Needed For DIY Removal
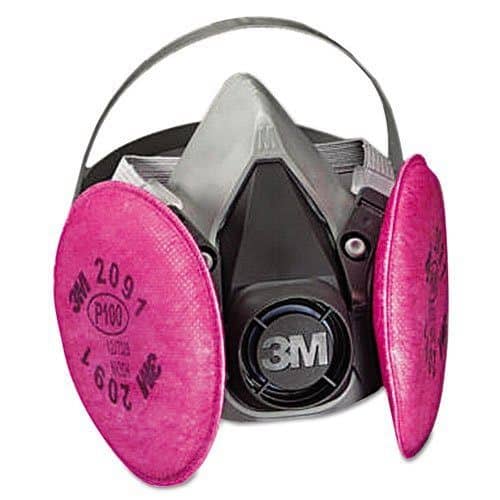
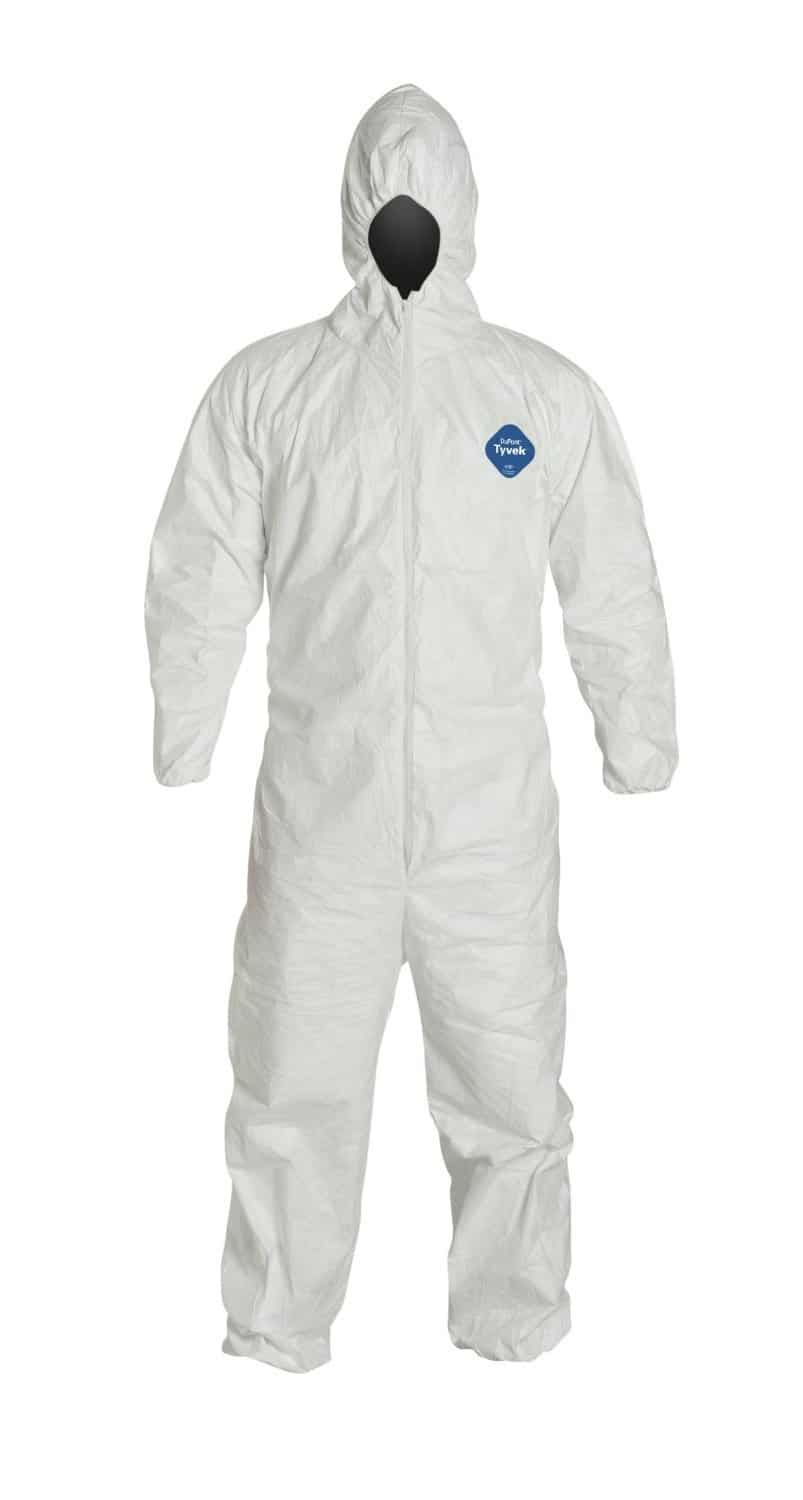
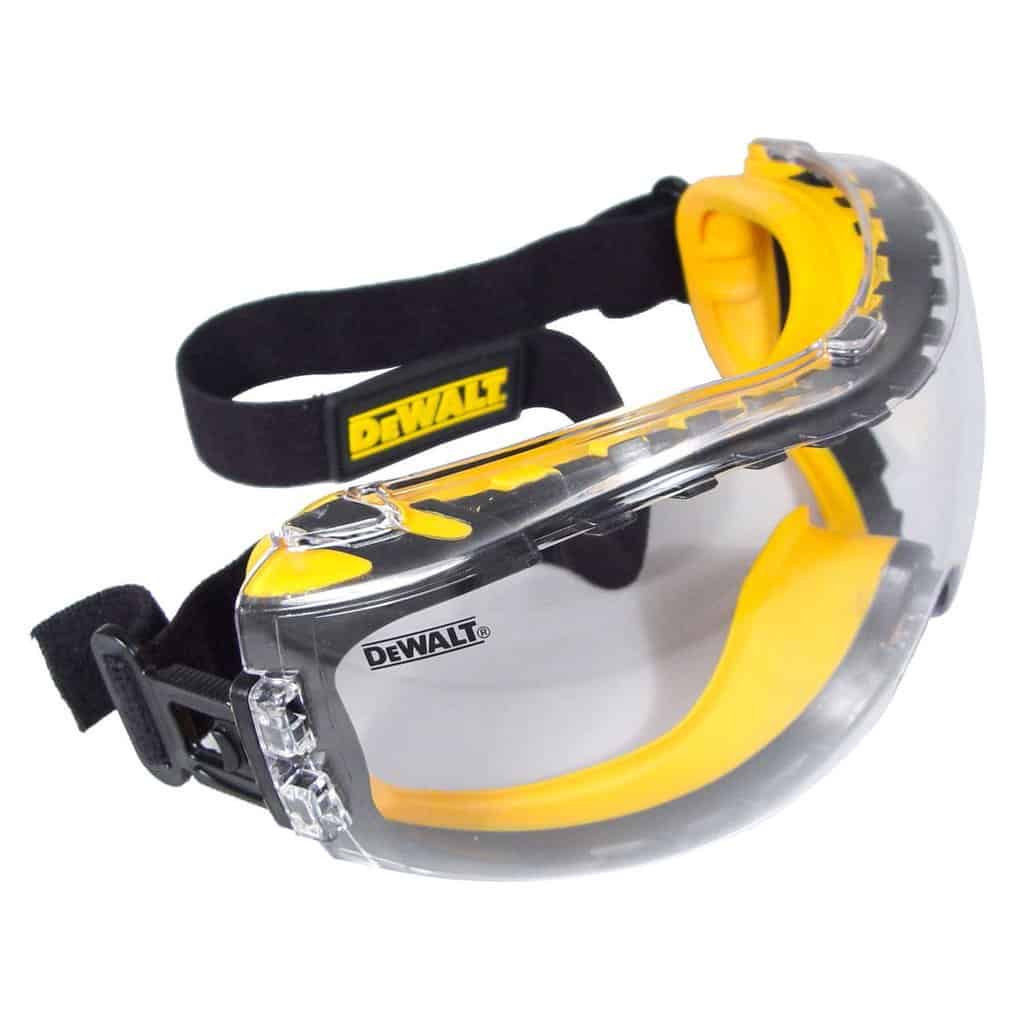
If you’ve accepted the health dangers involved, you can minimize the risk of exposure to asbestos fibers for do-it-yourself removal by wearing safety equipment such as a respirator, coveralls, gloves, rubber boots and safety goggles. You need to fasten your gloves to the coveralls with tape, to make sure that they won't come off. Plus, tools such as spray bottles, liquid detergent, putty knifes, a utility knife, a still floor scraper, plastic sheeting, duct tape, plastic garbage bags, a mop, and disposable towels will be needed.
Check out this DIY video on how asbestos vinyl floor tiles are removed.
You can do better than the woman in the video by wearing the other required protective equipment. Note that breathing through a respirator can be challenging and the coveralls can be uncomfortable. Removing the tiles on your own will be time consuming. On average, a 2 square-meter area can take around 1 to 2 days. Do take careful consideration before embarking on a DIY floor removal project.
Steps in Removing Asbestos Flooring: How It's Done
Step 1: Protect the Area
The goal in removing the asbestos vinyl flooring is to remove it in whole pieces without causing any dust.
- Before beginning, the work area must be isolated using the plastic sheet over heat registers, doorways, cupboards, ect. and the heating and air conditions system must be turned off.
- All furniture and other moveable objects should be removed from the room to prevent contamination and to simplify clean-up.
- Access to the work area should be limited to one doorway, with a slit in the plastic door covering to make the entrance as small as possible.
- Post a sign outside the house or inform your friends and relatives that they cannot visit the house at this time.
- Keep the pets away from the work area as well.
- To further prevent asbestos fibers from spreading, the floor must be kept wet using a water bottle. The water will also help loosen the tiles and make removal much easier.
- Keep your supplies ready near the doorway, which includes water bottles, rags, buckets and trash bags.
Step 2: Removal
- Once prepped and your safety gear on, cut the vinyl flooring into the manageable sections with a utility knife, and remove the pieces by pealing from the edges and using a flat scraper to lift the vinyl.
- Continue to wet the flooring as you scrape and pull to minimize dust. Any vinyl backing that separates from the vinyl flooring can be removed by thoroughly wetting and scrubbing the floor with a pad.

Step 3: Clean Up and Disposal
- As you remove the vinyl, place the pieces in sturdy plastic trash bags to avoid leakage and mark the bags "Danger! Asbestos-Containing Materials." Regulation also states that you should write your last name, address and removal date on the trash bag. The trash bags should be 33 x 50 inches in size and should be 6-mil thick polyethylene.
- The asbestos debris can only be disposed of in a landfill that accepts asbestos-containing waste. Consider calling the land-fill before you go to ensure you understand all their requirements.
- Careful clean-up is important when dealing with asbestos, and all potential asbestos dust and particulate must be removed from the work area to avoid future asbestos contamination.
- Wet and remove all debris left on the plastic sheet used to cover the counters, furniture, and equipment. Then roll them carefully and place them inside the trash bags.
- Twist the top of the bags and then seal them with duct tape.
- Wipe all surfaces and scraping tools with a damp cloth. Frequently rinse the cloth and change the water so that the surface in the work area can get truly clean. Once you're done with the rags, dispose them properly.
- Collect all your tools and put them in a bucket or plastic bag, so you can clean them later.
- Next, stand on a plastic sheet and spray yourself or your companion with water to wash down any remaining asbestos fibers. Only then will you be able to remove your respirator, gloves, boots, goggles and coveralls.
- Place your towels, mop heads, and coverall suit and gloves in the disposal bag. You can dispose of the boots or place in a plastic bag for cleaning later. Remove the filters in your respirator and dispose of them.
- To ensure that your skin and hair is free of asbestos, immediately take a complete shower and wash carefully.
I started to do this flooring and now have run into a problem. I ran out of material and the Home Depot also ran out so now I have the floor planks in as much as I could do but the gluing is exposed in some of the planks as I couldn’t fit pieces into it. Home Depot advises that the vinyl flooring won’t be in until the end of the week.
You should be able to purchase a small amount of a vinyl flooring adhesive that you could apply to the planks that have been exposed but not completed due to the missing material. Home Depot, Amazon, and other big retailers will have something (like this) that will work. That way, once the new vinyl does come in and you are ready to finish the install, you won’t be dealing with older, dried out adhesive. Even if the floor seemed fine initially, you could end up with some shifting and buckling in the floor if you don’t adhere it properly.
Also, I’d definitely suggest you purchase more than you need to complete the floor, when the new material comes in. That way, if you need to replace a patch on the floor due to damage in the future, you will have some extra material on hand and you won’t risk the issue of it being discontinued at Home Depot!
Good luck, and I hope you love your new vinyl flooring!
After installing vinyl tiles on our basement floor they creak when we walk on them after 3 days. Will this go away? What can we do to fix?
thanks,