
If you’re looking for an ecologically friendly flooring option that fits within your budget, cork flooring may be the ideal solution for you! Cork floor is a hardy and sensible flooring option that is easy to maintain and a beautiful alternative to traditional hardwoods.
The earthy style cork flooring brings to a room creates a cozy ambiance and this comfortable flooring option is quickly becoming a favorite in kitchens, living rooms and basements.
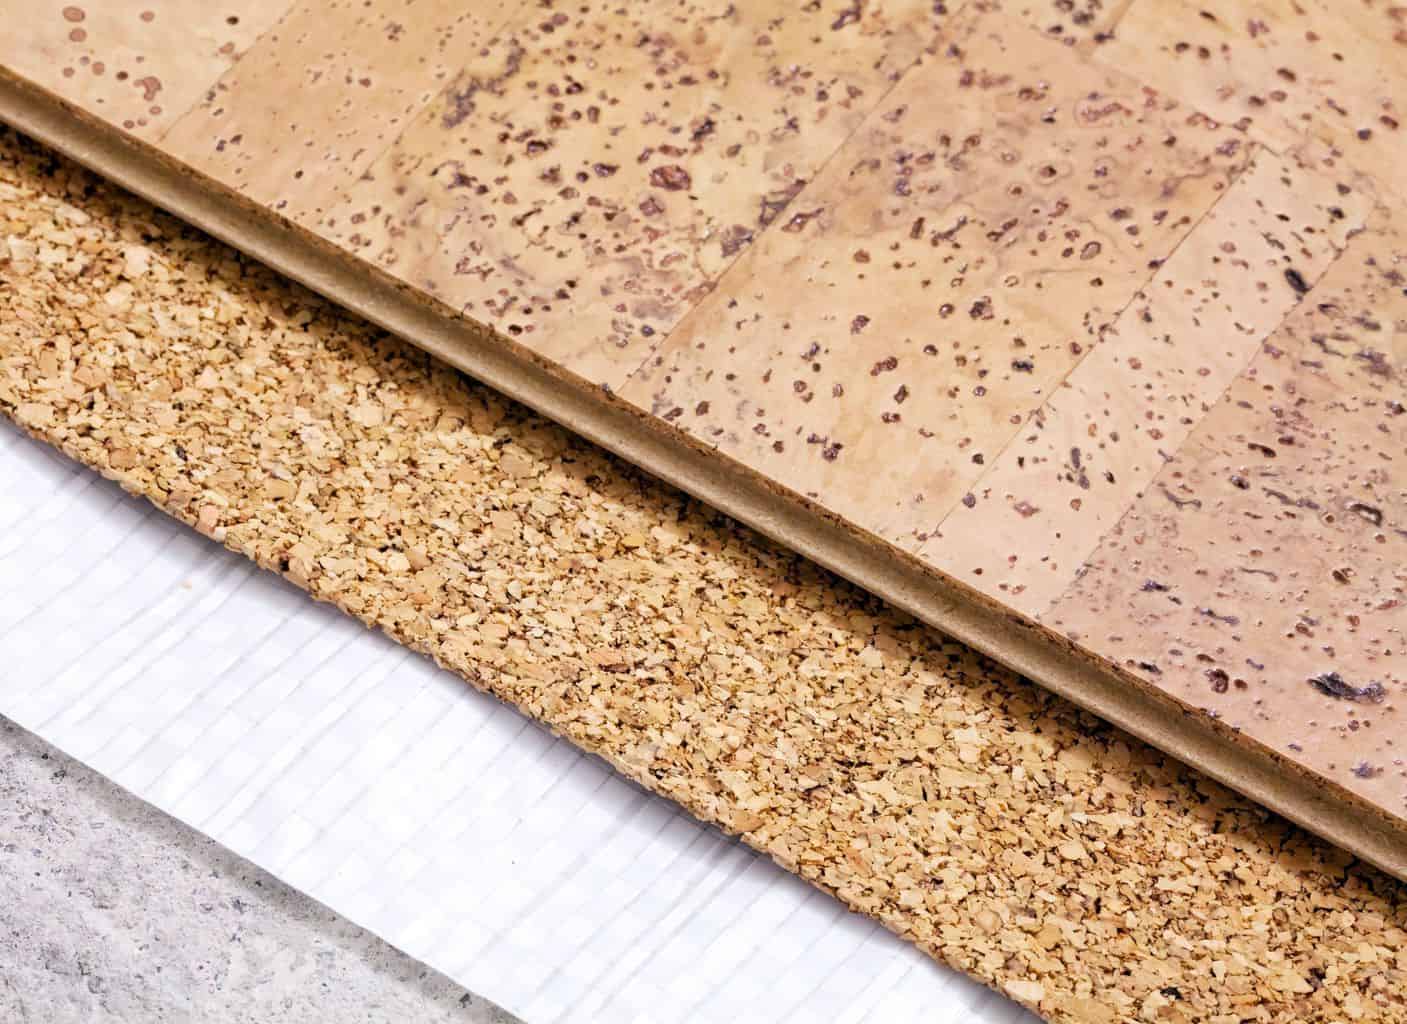
These days, manufacturers have designed cork flooring planks similar to laminate flooring, with a tongue and groove type design, eliminating the need for glue or nails. This makes installing cork flooring a fairly simple process that can be accomplished in a reasonable amount of time by even a novice DIY-er.
[tcb-script async=”” src=”//pagead2.googlesyndication.com/pagead/js/adsbygoogle.js”][/tcb-script][tcb-script](adsbygoogle = window.adsbygoogle || []).push({});[/tcb-script]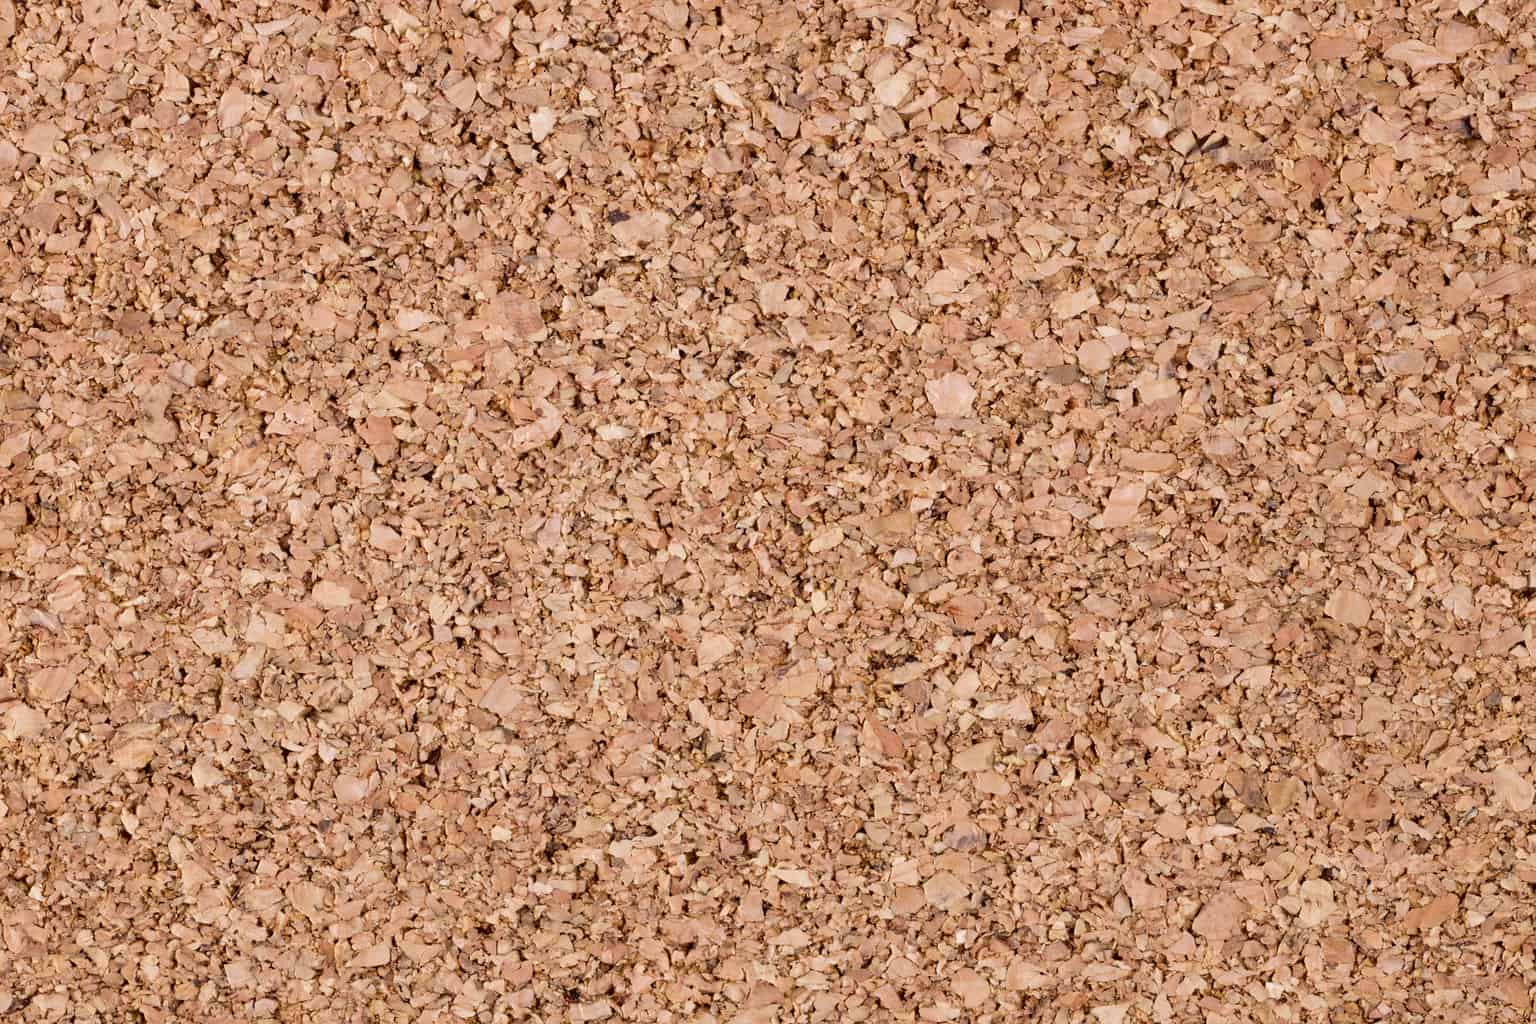
Prior To Installation, Gather The Following Tools
- Straightedge and clamps
- A saw suitable to cut the cork flooring: a jigsaw, handsaw, table saw or circular saw can work.
- Rubber hammer or rubber mallet
- Crowbar
- Miter box ad drill/driver to cut and install shoe molding
- 1/2″ wooden spacers
The floating floor design of cork flooring panels, where the planks are not required to be glued or nailed onto a subfloor, has truly simplified the installation process.
It is recommended that you install a plywood subfloor and/or moisture barrier if the floors are being installed in a potentially damp area. Otherwise, the cork flooring can be laid directly on preexisting vinyl, linoleum, hardwood, or concrete floors. Cork flooring should never be installed directly on top of carpet, however.
Because cork flooring will expand and contract with changes in humidity, you must leave a ½” gap between the flooring and the wall or there will be damage to your floors as they expand.
Of course, you are not going to want to leave this gap exposed, as that would be extremely unsightly, so you will need to cover the gaps with baseboard or shoe molding. If there is already existing shoe molding in the room where you are installing your cork flooring, it will need to be removed before installing the new floor.
If you would like to reuse the molding, take care not to crack it when removing and it can be placed over the expansion gap after the cork floors have been laid.

Additionally, you will want to acclimatize your cork flooring to the room prior to installation. Most manufacturers recommend leaving your flooring unwrapped from any plastic covering for a minimum of 72 hours in the room where it will be installed to allow the planks to adjust to the atmosphere and humidity levels in the room.
The room should be at least 60 degrees while the floors are being acclimatized. The subfloor or preexisting flooring on which the cork flooring is to be installed should also be made clear of dust and debris of any sort.
Finally, after gathering the above tools, leaving your cork flooring to adjust to the room for at least 72 hours, removing any existing baseboards or shoe molding, and cleaning the area on which the cork flooring is to be laid, you are ready to begin. You will want to set aside approximately 3 hours per 100 square foot space you have to work with.
Cork Flooring Installation
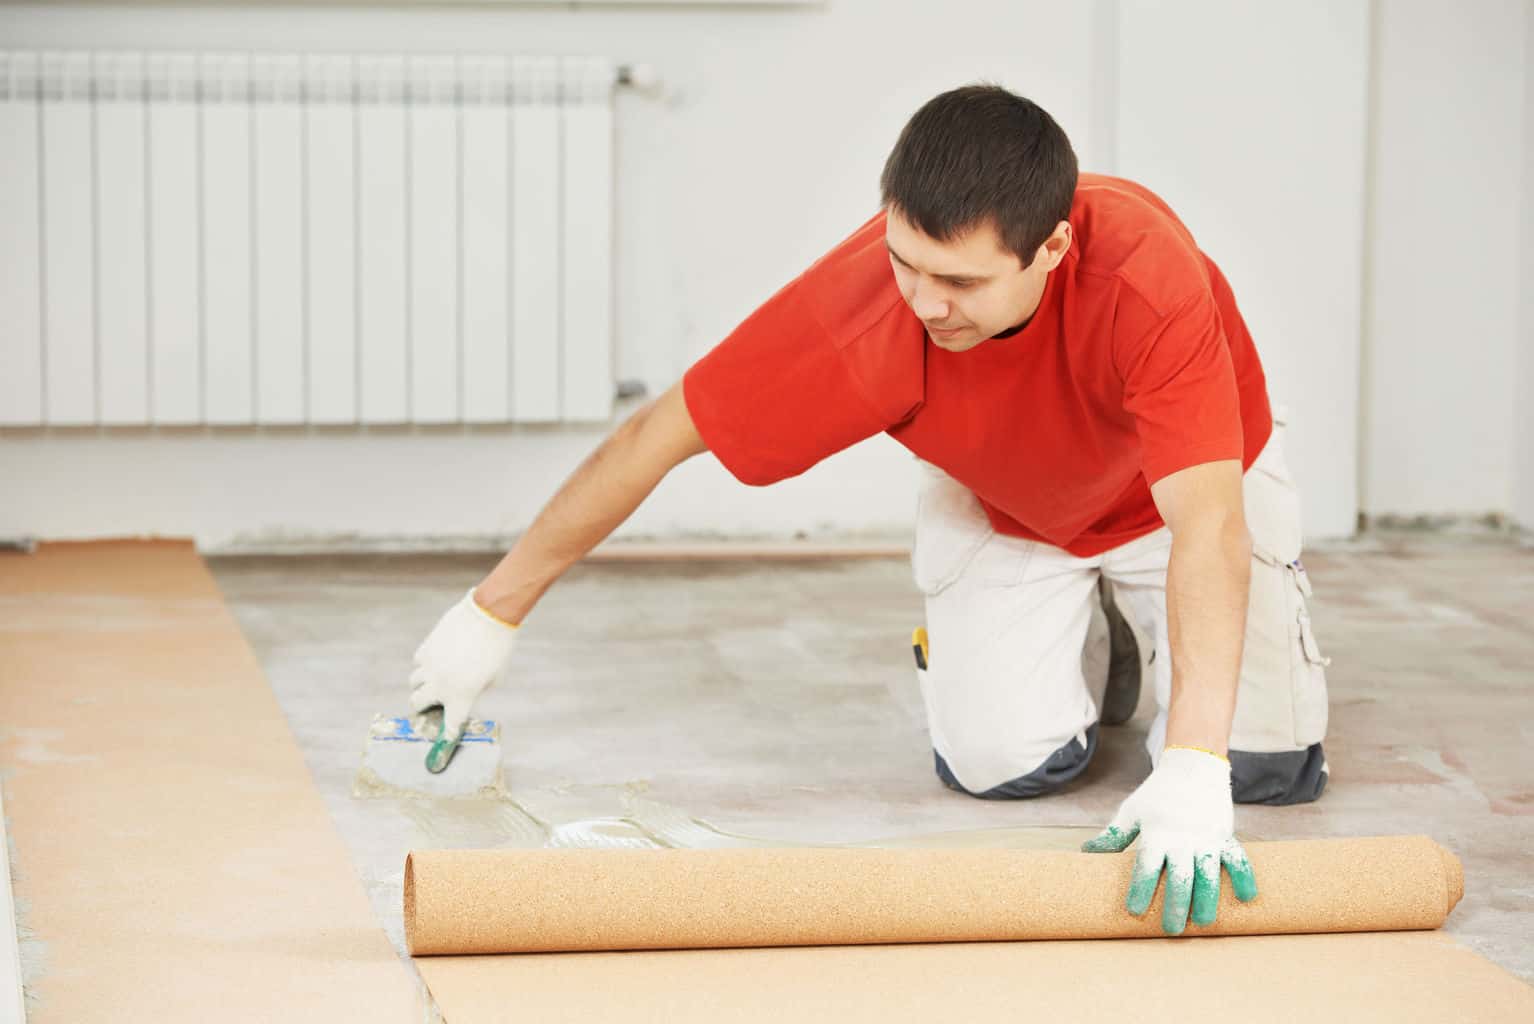
- If you are installing any kind of moisture barrier, such as a polyurethane sheeting, you will want to install that at this point. Run the sheeting up the wall about 2-3 inches, to help keep out moisture.
- Measure the length of the room and trim the cork flooring planks to fit; remember to leave the ½” space on either end for expansion.
- Begin the initial installation of the first row of cork flooring planks. To lay the cork flooring, push the planks together at an angle so the one end of the board slides into the corresponding groove on the subsequent plank until the boards click together. The pieces should be installed short end to short end and worked lengthwise like this (not long side to long side). You may need the force of your rubber mallet to join the boards, but do not hammer on the edges of the planks where the tongue and groove have been brought together; rather, hammer in the middle of the boards to prevent cracking.
- As you reach the end of the row, cut the last piece to length, using your saw guided by a clamped straightedge.
- As you lay the flooring, to save the ½ inch for expansion, place ½-inch wood spacers between the long end of the first row of cork floor planks and the wall. Line up this initial row of flooring boards tight against the spacers.
- Continue installation of the rest of the cork flooring boards, using the rubber mallet to ensure each row of planks are installed tightly against one another.
- As you install the final row, trim the planks to allow for the ½” expansion between the edge of the flooring and the wall.
Now that the flooring has been laid, most manufacturers recommend applying an additional polyurethane layer to protect the porous nature of the cork flooring from possible water damage.
Prior to applying the polyurethane, vacuum floors to remove any dust and dirt to ensure a complete and even application.
Let the finish dry for at least 24 hours before walking on the floor at all, and for the majority of the polyurethane finishes, a final hardness is achieved after 8 days, at which point you can install the shoe molding.
Measure the shoe molding and cut to length (if using a new molding and not re-installing preexisting shoe molding you removed prior to installation).
Join the molding at the corners of the room at a 45-degree angle and do not nail the molding directly to the cork flooring. Rather, nail the molding into the baseboard at 12-inch intervals.
At this point, you can rejoice! You have completed your cork flooring installation and your new floors are ready to be enjoyed.