
Whether you are using vinyl tile or roll flooring, installing vinyl floors is a matter of patience and planning to execute a beautiful finish. Installing vinyl floors is more than just a weekend chore, it’s an investment in the protection of your home. A little time from you can result in a lot of long-term use from your new vinyl flooring.
The Advantages of installing vinyl floors include:
- Quick! Installing vinyl floors doesn't take a lot of your time.
- Cheap! Materials needed for the floors and the installation are inexpensive.
Deterrents to installing vinyl floors can be:
- Tools: You will need to have basic tools on hand for cutting and measuring.
- Pre-Installation Prep: There is some prep work that will need to be done prior to starting installation to get the floor ready.
- Leveling: You may need to level the floor to make it conducive to laying the vinyl. This can be a fairly involved and tedious process.
- Toxicity: Off- gassing from the vinyl and/or adhesive can be an issue if the area where you are laying the flooring is not well ventilated.
Why Choose Vinyl For Your Flooring
Vinyl is an incredibly durable form of floor covering. It comes in fantastic colors, designs and patterns, and can really add some wow-factor to what may otherwise be a boring utility space, like a mud room or a laundry room. Vinyl is also a wonderful option for rooms where water damage is a possibility, such as a bathroom, basement, or even a kitchen. Vinyl floors can stand up to harsh treatment and conditions without needing anything more than a wipe.
When determining if it is time to re-lay vinyl floors, what you have to take into consideration is the wear layer of the flooring, which is the surface that stands between someone’s sole and the actual vinyl surface. This protective layer can be worn down with time, especially in locations where dirt is most prone to being ground into the floor, like at the front or back door. If the flooring that is in place seems to be worn, this is a good indication that it is time to replace the vinyl flooring. The good news is, relaying vinyl flooring over existing vinyl is very simple! Even if the flooring that is currently in your home is not vinyl, this is a home renovation project that can be completed in the span of a weekend; you just may be required to do a little additional prep work.
Tile Vinyl or Roll Vinyl, Which is the Right Choice for Your Install
Installing vinyl flooring seems to be the way that most homeowners decorate and protect their bathrooms and basement floors. One big decision is, whether you will be laying tile or roll vinyl. Either one is quite simple to do. While laying tiles may be a bit easier than the roll vinyl, either one can be done with a little patience and preparation. The determining factor for you should really come down to the final look of the room, the room’s use, and your personal preference. Vinyl tile has almost limitless design possibilities, as the tiles can be laid in any configuration. But, if you are really looking for the best deal possible, sheet vinyl comes in a little bit under the price of the vinyl tiles per square footage. Of course, if this is going to be a room with a lot of traffic and you want to get long term mileage out of your vinyl flooring, you may want to pay the additional cost for the tiles, as it is much easier to replace a single tile if there is any damage to the flooring than it would be to replace an entire sheet.

Preparing the Room for Vinyl Flooring Installation
1. Test for Excessive Moisture and Good Ventilation
The preparations needed include selecting a room that isn’t too hot and is well-ventilated. Bathrooms are a good example because they have exhaust fans that vent moisture and will help keep the space well ventilated while you are working. You will need a clean and dry surface upon which to install the vinyl floor. If you’re installing vinyl on top of preexisting vinyl, then you just need to clean the area well and allow it to dry completely before installing the new flooring.
If you’re installing vinyl tiles on a concrete basement floor, or other concrete surface, you will want to do this simple test: take a small piece of vinyl tile and attach it to the floor. After seventy-two hours, try to pull the tile up. If the tile comes up without much trouble, the surface is not dry enough for installing vinyl floor tiles. You will need to find a way to remove the excess moisture; using a dehumidifier for a few days may do the trick. It could be that a high water table causing the moisture is the problem, and that can be more difficult and expensive to fix.

2. Measure Out the Space Carefully
Take careful measurements of the area to assure that you have enough vinyl floor tiles. You may want to purchase more than is necessary to adjust for any mistakes that you may make and to have extras on hand in the event of damage down the road. As any pro will tell you, always measure twice! If there are any discrepancies between your first and second measure, measure two more times until you get the same number both times. This may seem tedious now, but it’s certainly better than a repeat trip to the store for additional vinyl after you have already started the install, or ending up with more leftover than is necessary!
3. Prepare the Temperature of the Room and Floor
One trick to use before you start to lay your vinyl flooring is to turn the heat on to 75 degrees and leave the flooring product (and glue) in that room for 72 hours prior to installation and throughout the installation job. That lets both the product and the floor get warm enough that the vinyl is flexible and everything is the same temperature. By having the floor and product the same temperature, they adhere to each other better. After you have finished installation, when you return the hear to your regular setting, the floor and flooring cool together, and as the vinyl shrinks (that's what happens when things cool), it is pulled taught, making an even tighter contact.

4. Level the Floor
When you are installing vinyl floors on top of old vinyl floors, you may need a special leveling paste. This is especially true when you are installing vinyl floor tiles, fill these areas with the manufacturer's recommended dry floor filler, allow drying, and then proceed with the installation.
5. Remove Floor Molding and/or Baseboards
Another thing that you can do to ensure your vinyl floors look great is to carefully remove the floor molding, or baseboards. By removing the molding you make it possible to place the vinyl very close to the wall so that when the baseboards are replaced it looks professionally completed. Or, you can replace the baseboards with new material, completing the fresh, new look.
Once the baseboard is removed and the floor prepped, snap a chalk line so you have a straight line to work from, ensuring your vinyl is laid straight. That gives your finished floor a professional look.
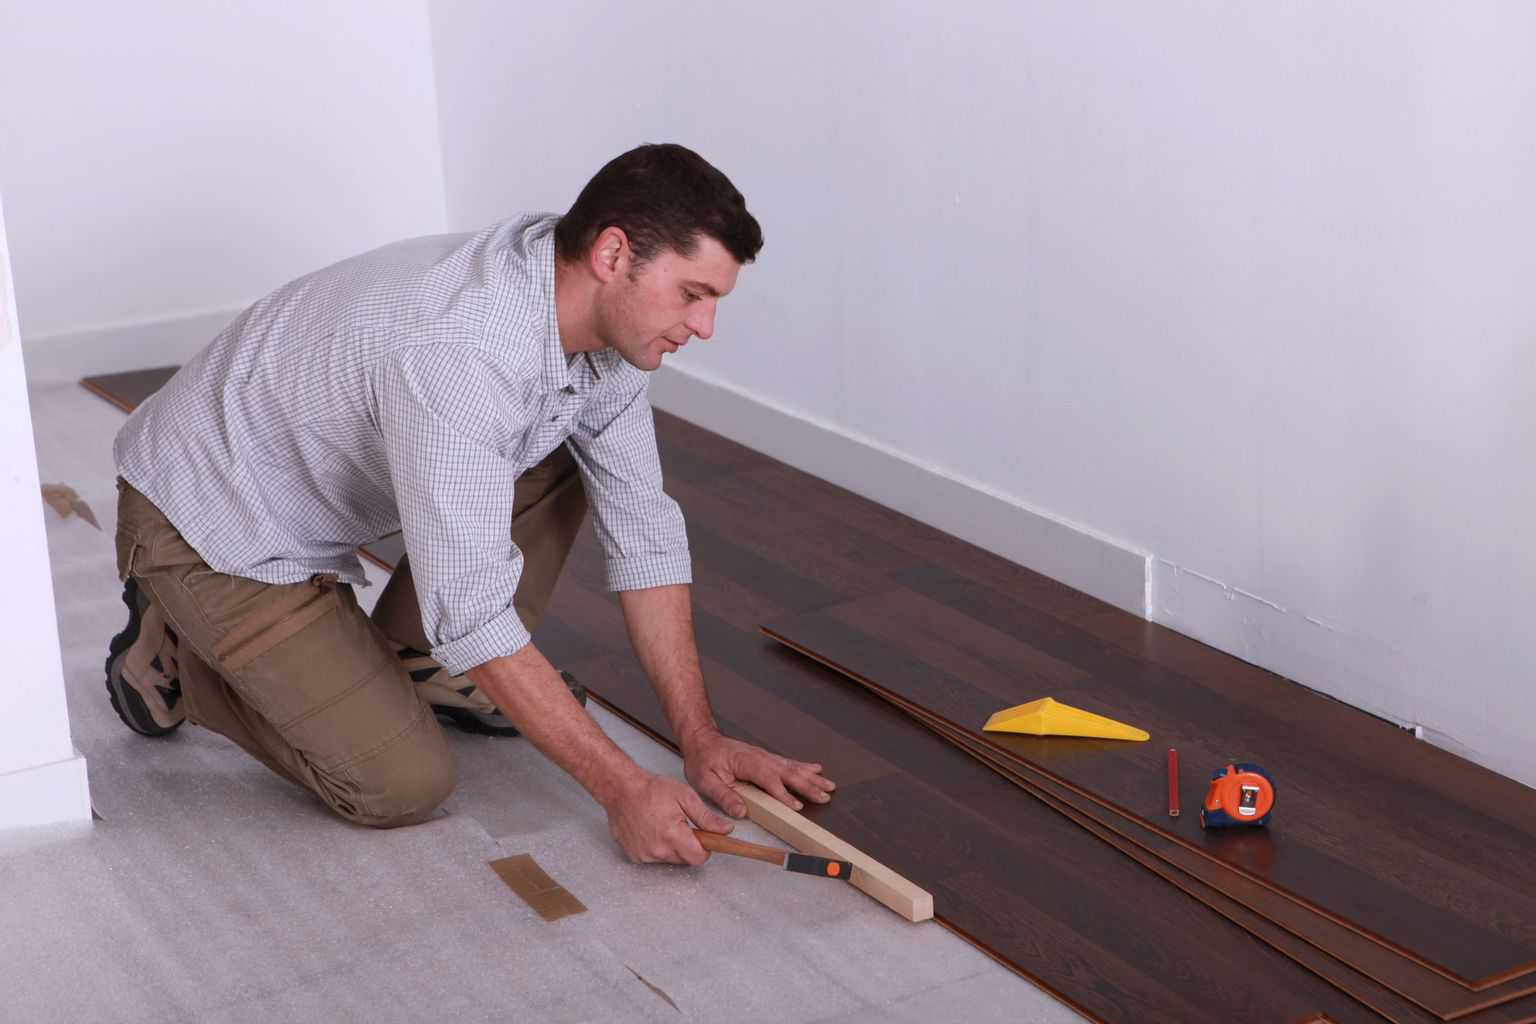
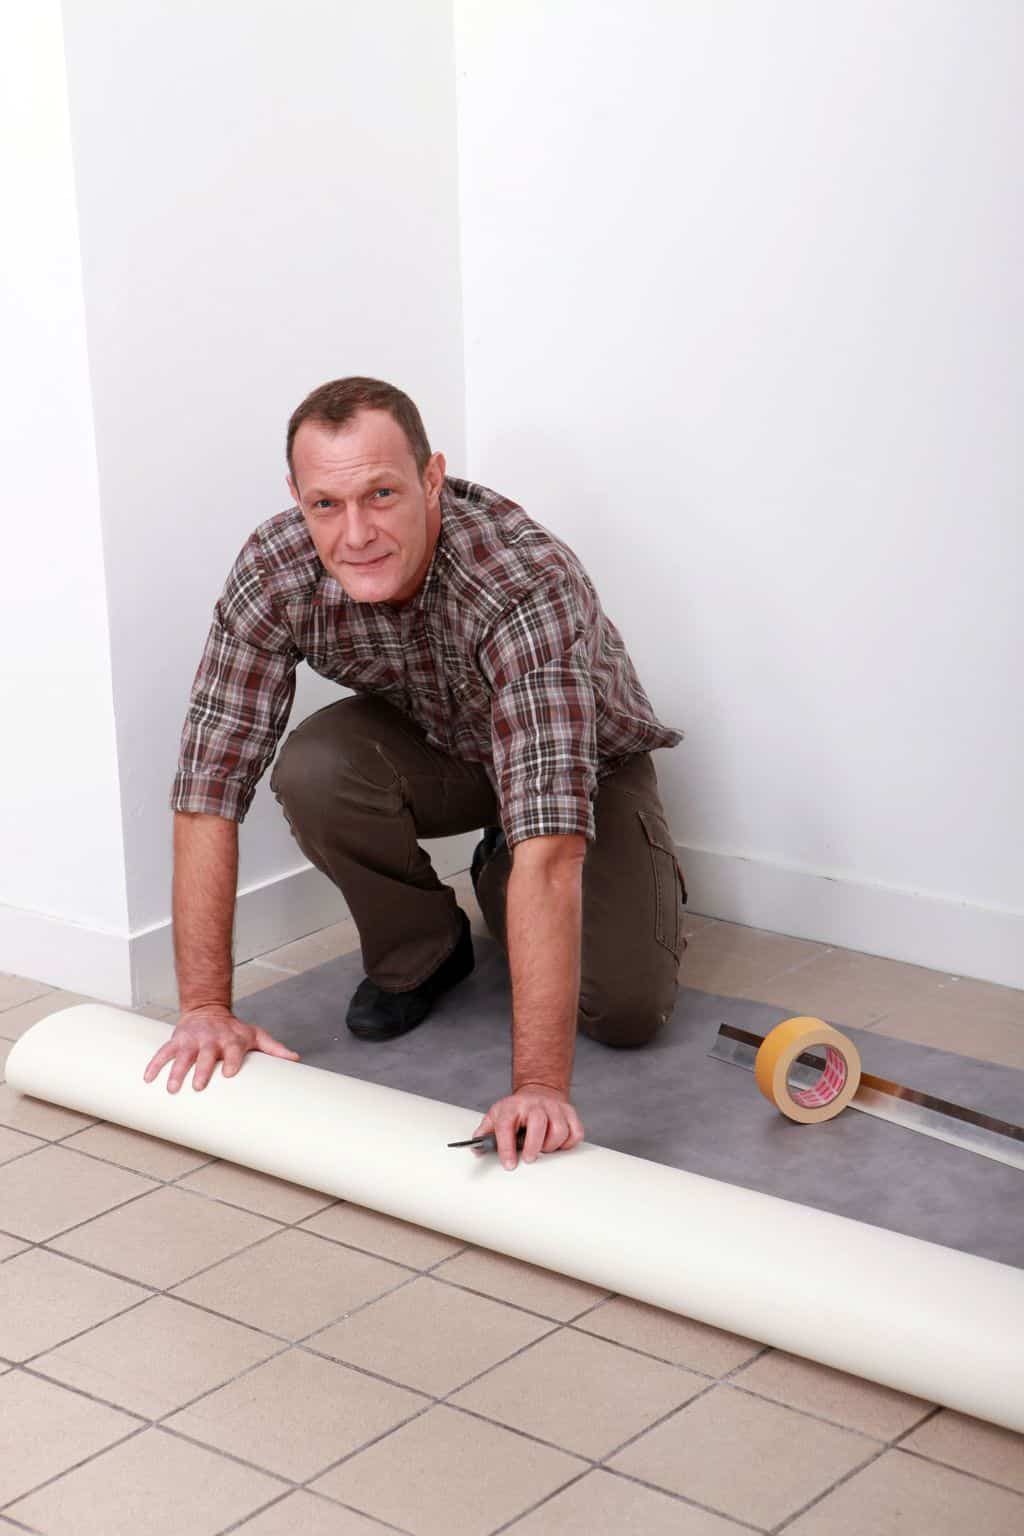
Installing the Vinyl Floor
You are now ready to begin the install! If you are using roll vinyl, roll your vinyl across the room. Mark where you will cut off excess material or cut around intrusions such as toilets, built-in bookcases, or walls. Using a solid backing board, cut out the pieces you just marked, carefully rolling the vinyl so you can access those spots. You can use either a perimeter or full adhesion technique. For the full adhesion technique, roll the vinyl up with the decorative side facing inwards. Spread the “glue” across the entire floor, unroll the vinyl onto the floor, and use a roller to ensure all of the vinyl is pressed to the glue. It takes a bit of effort, but if you work slowly, carefully and methodically, this is a very efficient way to achieve a fantastic, even look for the flooring.
To lay vinyl flooring tiles, place your tiles down in the immediate area you are working. Depending on the type of adhesion method you are using, either put adhesive on the floor where the tile will go or peel off the glue-down backing, and put the tile in place. Push firmly. Proceed to the next tile. Laying vinyl flooring tiles is a cinch, but you will still want to work cautiously and take your time. Once the floor is in place and has had time to cure, put baseboards in place. The project is done!
For more detailed installation directions, rely on your flooring manufacturer’s directions, or find a do-it-yourself website that gives you step by step directions with pictures or follow a video like this one:
Installing vinyl flooring doesn’t need to be a chore. It’s a great way to create a beautiful room that really pops! And with all of the advantages of vinyl flooring, who wouldn’t be willing to commit a weekend to this simple project that can really protect your home’s value and usability!
We have two layers of linoleum on our floor. We now want to install a Fiber floor. Can it go over these two layers or must they first be removed? Thanks for your help.
Hi Ruth,
What kind of a fiber floor are you wanting to install? Basic rule of thumb: as long as your floor (with the 2 layers of lino) is level, then you can install over it. It’s still better to remove and start fresh.
Very helpful post. I’m about to lay a vinyl tile floor over concrete. I’ve scraped, cleaned and dried the concrete and purchased an adhesive (in addition to the peel-n-stick on the back of the vinyl). My primary question is this: do I have to use both adhesives? The poured adhesive seems to require me to allow it to dry completely (overnight?) and then begin to place. Unfortunately that would mean I had to begin at the edge of the room and work toward the center rather than the correct manner of middle-outward. HELP, please! AND thanks so much for all this helpful information I’ve already read!
What flooring is better over all Vinyl or Fibre?
Hi Margaret,
If your vinyl tiles have an adhesive back, then you do not have to use an additional adhesive. Just peel off the backing, put the tile in place and push firmly.
Hi Tracey,
It really is just a matter of personal preference and where you are planning on installing the flooring.
The main drawbacks of fiber flooring is that are absorbent and stain easily. The usually are not as soft as synthetic floors and they don’t typically do well if exposed to dampness.
So consider where you will be installing the flooring and what kind of traffic the area receives.
Thanks for the suggestion. Peel & stick vinyl tiles in place, looking great with no extra adhesive! Appreciate your advice so much.
Margaret
do i need to lay something on top of bathroom floor wood before laying vinyl roll
The article covers all of the preparation steps necessary for laying the vinyl.
Hi! We just layed peal and stick vinyl tiles, and some of the tiles are floating apart leaving a little gap between tiles. What causes this and what can be done. Ive alined them several times and if someone walks on them they seperate. The glue hasnt cured yet and it been 4 days since we layed them.
Karen, we are presented with multiple scenarios. Not knowing where the tile is laid, the adhesion process would be disrupted if the room has a high moisture content.
Now for another scenario. It could be the adhesive is not strong enough or even perhaps it is faulty. I would suggest you do 2 things if this is the case. One call the manufacturer and inquire what they can do for you as the tiles are slipping! Two if the product is what it is then use additional adhesive to stick them down. When reinstalling if you chose to use additional adhesive and have questions re-read this particular article for my instructions on using “glue”. I also recommend using Bostick’s Best Glue has I’ve had great success with it in my own flooring projects.
Great article – very helpful. I’ve removed carpet from a basement bathroom that was glued on. I’ve scraped the concrete three times, using warm water, to get the old carpet and glue off. There still seems to be some glue “tracks.” Exactly how clean does it need to be before laying self-adhesive vinyl? (I’m getting really tired of scraping!)
Ron,
You mentioned glue tracks and I’m curious if they are stains in the concrete from the glue or residual glue. The stains won’t hinder adhesion although you do need to make sure the surface is free from any existing glue and debris. Without being there to see if the track is glue or a stain I would say use your best judgment.